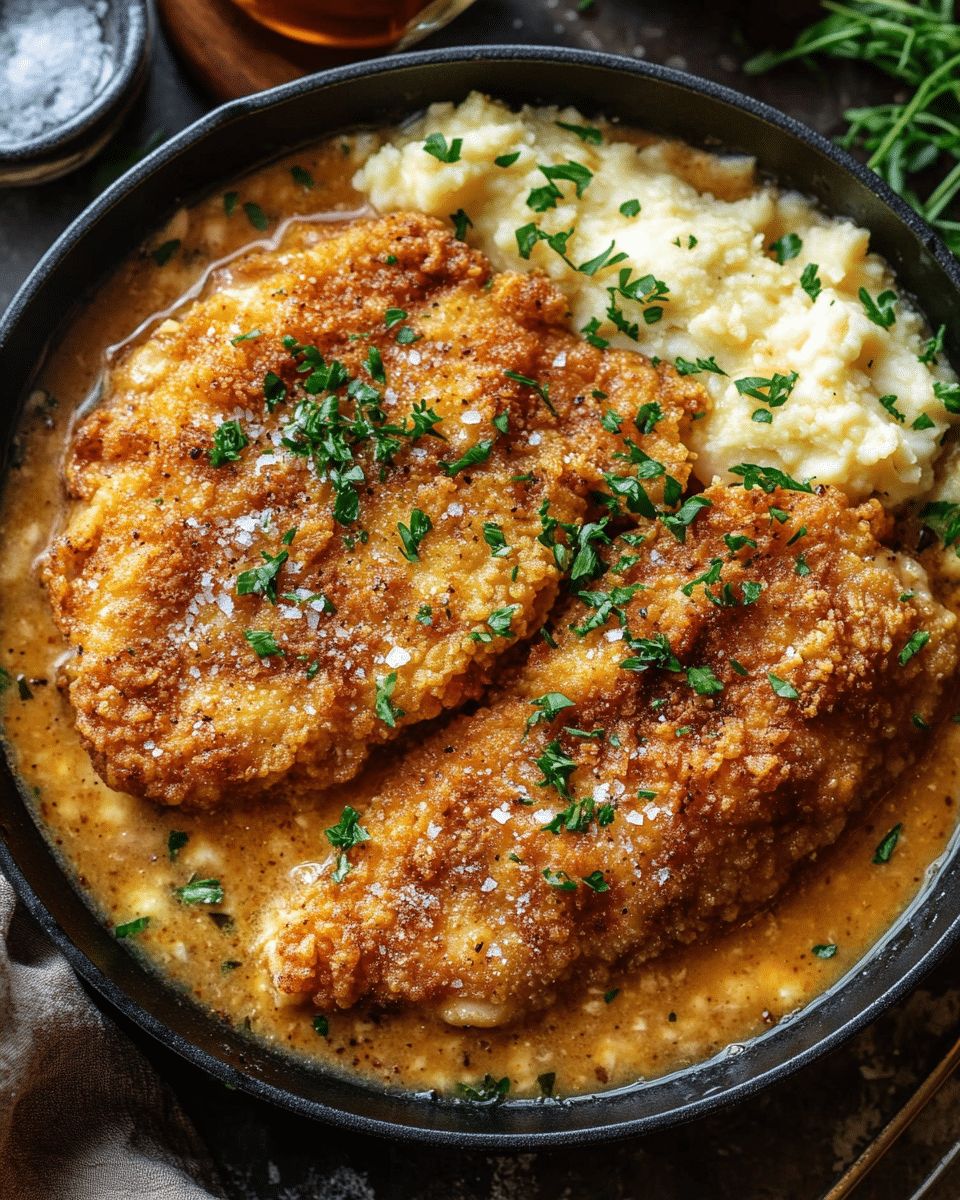
When it comes to the pantheon of comfort food, few dishes evoke the same level of nostalgia and pure satisfaction as crispy, juicy country fried chicken. Imagine the intoxicating aroma of golden, seasoned breading sizzling in a cast-iron skillet, promising a tender, flavorful bite hidden just beneath a shatteringly crisp exterior. It is a dish that turns a simple family dinner into a celebratory feast.
In this guide, we dive deep into the culinary secrets that separate average poultry from a world-class meal. We will explore the science behind buttermilk marination, the perfect ratio for seasoned breading, and the precise frying techniques needed to achieve that coveted golden glow. Whether you are a seasoned home cook or a beginner, these steps ensure your chicken remains moist on the inside while delivering a heavy-duty crunch on the outside.
Quick Answer: The secret to the ultimate country fried chicken lies in a buttermilk and egg marinade to tenderize the meat, followed by a double-coating of seasoned flour and breadcrumbs. Frying in a cast-iron skillet at 350°F ensures an even, golden-brown crust without making the chicken greasy.
Why This Crispy, Juicy Country Fried Chicken Recipe Works
There is a distinct difference between “fried chicken” and “the ultimate country fried chicken.” The latter requires a specific harmony of texture and moisture that most home cooks struggle to achieve. By understanding the culinary science behind the process, you can transform a standard weeknight dinner into a gourmet experience. This recipe succeeds because it addresses the three pillars of great frying: meat preparation, flavor infusion, and temperature control.
The Magic of the Buttermilk Marinade
Buttermilk is more than just a liquid base; it is a natural meat tenderizer. The mild acidity in buttermilk works to break down the tough protein fibers in the chicken breast without making it mushy. This process, known as denaturing, ensures that even after the high heat of frying, the interior remains succulent and dripping with juice. Furthermore, the thick consistency of buttermilk allows the eggs and spices to cling to the meat, providing a “glue” for the subsequent flour coating.
The Dual-Texture Breading Secret
Most recipes rely solely on flour, which can lead to a flat, one-dimensional crust. Our recipe utilizes a blend of all-purpose flour and breadcrumbs. The flour creates a fine seal that prevents the chicken from drying out, while the breadcrumbs add jagged edges and air pockets that result in a superior, “heavy-duty” crunch. When seasoned correctly with paprika and cayenne, this coating becomes a savory shell that stands up to the meat.
Precision Frying and Heat Retention
Success in the kitchen often comes down to thermodynamics. Using a cast-iron skillet is highly recommended because it has high thermal mass—meaning it doesn’t lose heat the moment cold chicken touches the oil. Keeping the oil at a steady 350°F is the “sweet spot” where the crust browns perfectly in the exact amount of time it takes for the internal temperature of the chicken to reach safety standards.
Essential Ingredients for Success
Before you heat the oil, ensure you have gathered high-quality ingredients. The simplicity of this dish means that the quality of your spices and the freshness of your chicken will directly impact the final flavor profile.
| Category | Ingredient | Role in Recipe |
|---|---|---|
| Main Protein | 4 Boneless, Skinless Chicken Breasts | The tender, juicy foundation of the dish. |
| Marinade | 2 Cups Buttermilk + 2 Large Eggs | Tenderizes the meat and binds the breading. |
| Breading Base | 1 ½ Cups Flour + ½ Cup Breadcrumbs | Creates the iconic crispy, golden exterior. |
| Seasoning | Paprika, Cayenne, Seasoned Salt | Provides the Southern “kick” and deep color. |
| Frying Medium | 1 ½ Cups Vegetable Oil | Ensures even heat and a neutral flavor profile. |
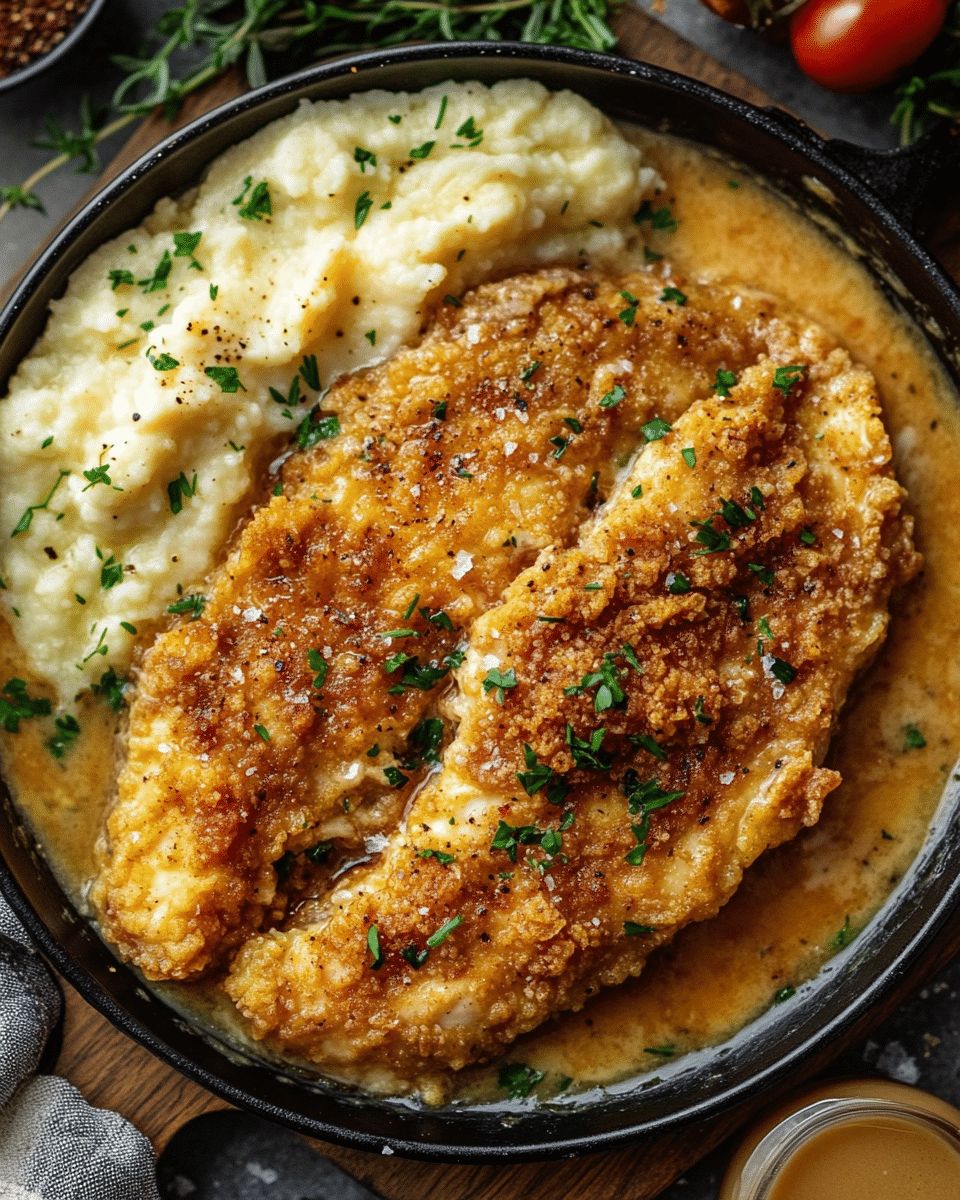
Step-by-Step Instructions for the Perfect Fry
Follow these steps meticulously. Cooking is an art, but frying is a craft that requires following a specific sequence to ensure the coating doesn’t fall off and the meat doesn’t overcook.
Step 1: Preparing and Tenderizing the Chicken
Uniform thickness is the enemy of raw centers and burnt edges. Place your chicken breasts between sheets of plastic wrap. Using a meat mallet or a heavy rolling pin, pound the chicken until it is consistently ½ inch thick. This ensures that every part of the chicken cooks at the same rate. Once flattened, pat the chicken dry with paper towels to ensure the marinade sticks properly.
Step 2: The Long Soak (Marination)
In a large glass bowl, whisk together your buttermilk, whisked eggs, and 3 teaspoons of salt. Submerge the chicken completely. You should marinate for at least 1 to 2 hours. If you are planning ahead, an overnight soak in the refrigerator is the gold standard for maximum tenderness. The salt in the marinade acts as a brine, drawing moisture into the cells of the meat.
Step 3: Creating the Breading Station
In a shallow pan or wide dish, combine the flour, breadcrumbs, seasoned salt, paprika, black pepper, and cayenne pepper. Use a fork to whisk the dry ingredients together until the color is uniform. A common mistake is under-seasoning the flour; remember, this is the only layer of flavor the consumer tastes immediately, so be generous with your spices.
Step 4: The Coating Technique
Remove a piece of chicken from the buttermilk, allowing the excess to drip off for a second. Place it into the flour mixture and press down firmly. Flip and repeat. Pro Tip: Only bread your chicken immediately before it goes into the pan. If breaded chicken sits too long, the flour absorbs the moisture and becomes a paste, which leads to a “doughy” crust rather than a crispy one.
Step 5: The Frying Process
Heat your oil in the skillet until it reaches 350°F. If you don’t have a thermometer, drop a pinch of flour into the oil; if it sizzles immediately, you are ready. Carefully lay the chicken away from you to avoid splashes. Fry for 4-5 minutes per side. Avoid the temptation to move the chicken around; let it sit so the crust can set. Use a thin metal spatula to flip it once you see the edges turning a deep golden brown.
Step 6: The Rest and Drain
Never place freshly fried chicken directly onto a flat plate or paper towels. This traps steam underneath the chicken, which will turn your beautiful crust soggy within minutes. Instead, use a wire cooling rack set over a baking sheet. This allows air to circulate around the entire piece of chicken, keeping it crispy on all sides while the juices settle.
Buttermilk Substitutes: What to Do in a Pinch
If you find yourself without buttermilk in the refrigerator, do not panic. You can create a chemical reaction that mimics the properties of buttermilk using common household staples. The acidity is the most important factor to replicate.
- The Sour Cream Method: Mix ½ cup of milk with 1 ½ cups of sour cream. This provides a very thick, rich coating.
- The Yogurt Method: Combine 4 tablespoons of milk with enough plain yogurt to reach 2 cups. This offers a great tang.
- The Vinegar Hack: Add 2 tablespoons of white vinegar to 2 cups of milk. Let it sit for 10 minutes until it curdles.
- The Lemon Juice Hack: Substitute white vinegar with lemon juice for a slightly brighter, citrusy undertone.
Expert Tips for the Best Results Every Time
To truly master this recipe, keep these professional “SEO-Expert” insights in mind during your next kitchen session:
- Monitor the Temperature: When you add chicken to the oil, the temperature will drop. Adjust your stove dial slightly upward to compensate and keep the sizzle active.
- Don’t Overcrowd: If you put too many pieces in the pan at once, the oil temperature will plummet, and your chicken will come out greasy and limp. Fry in batches if necessary.
- The Flour Flick: Flick a tiny bit of the buttermilk marinade into your flour tray before breading. This creates little “clumps” that stick to the chicken, resulting in those extra-crunchy bits found on restaurant-style fried chicken.
- Internal Temp: Use an instant-read thermometer to ensure the chicken has reached 165°F at its thickest part.
Common Pitfalls to Avoid
Even experienced cooks can run into trouble with fried chicken. Here is what to watch out for:
- Using Cold Chicken: Let your marinated chicken sit at room temperature for 20 minutes before frying. Cold chicken shocks the oil and leads to uneven cooking.
- High Heat Fallacy: If the oil is too hot (above 375°F), the outside will burn before the inside is cooked. Medium heat is your friend.
- Ignoring the “Rest”: Cutting into the chicken immediately will cause all the juices to run out. Give it 3 to 5 minutes of resting time.
You May Also Like
Explore more delicious comfort food recipes and techniques: Southern Side Dishes, Pro Chicken Marinades, Cast Iron Cooking Tips, and Easy Family Dinner Ideas.
For more information on the history and cultural variations of this dish, visit: Wikipedia.
Frequently Asked Questions
What is the best oil for frying country fried chicken?
Vegetable oil or canola oil are the best choices because they have a high smoke point and a neutral flavor. This allows the seasoning in your breading to shine without the oil adding any unwanted taste or burning during the frying process.
How do I keep the breading from falling off the chicken?
The secret is to pat the chicken dry before marinating and ensuring you don’t move the chicken too early once it hits the pan. Letting the crust “set” for the first 2-3 minutes without interference helps the breading bond to the meat. Additionally, breading the chicken just moments before frying prevents the flour from becoming too gummy.
Can I make this recipe in an air fryer?
Yes, though the texture will be slightly different. To air fry, spray the breaded chicken generously with cooking oil spray to ensure there are no dry flour spots. Cook at 375°F for about 15-20 minutes, flipping halfway through, until the internal temperature reaches 165°F.
Final Thoughts
Mastering the art of crispy, juicy country fried chicken is a rewarding skill that brings the warmth of Southern hospitality straight to your kitchen. By prioritizing the buttermilk soak and maintaining a precise oil temperature, you eliminate the guesswork and ensure a perfect result every time you cook. This dish isn’t just a meal; it’s a centerpiece for memories shared with family and friends.
Now that you have the ultimate guide and all the pro tips, it’s time to fire up the skillet! We invite you to try this recipe tonight and experience the incredible crunch and tender flavor that only homemade fried chicken can provide. Happy cooking!