

Picture this: you’re sitting down after a busy day, craving something that’s hearty, comforting, and a little bit fun. Instead of reaching for plain leftovers, imagine biting into a warm, golden burrito stuffed with seasoned beef, creamy cheese, fluffy rice, and that irresistible crunch from Doritos or Fritos. Every layer surprises you—melty cheese, tangy sour cream, and bold taco seasoning that wakes up your taste buds.
That’s the magic of Crispy Loaded Taco Burritos with Cheese and Chips. They’re more than just a quick weeknight meal—they’re a handheld fiesta that blends textures and flavors in a way that feels indulgent yet approachable. And the best part? You don’t need to be a professional chef to make them. With a few everyday ingredients and about 35 minutes of your time, you’ll be creating a meal that everyone at the table will rave about.
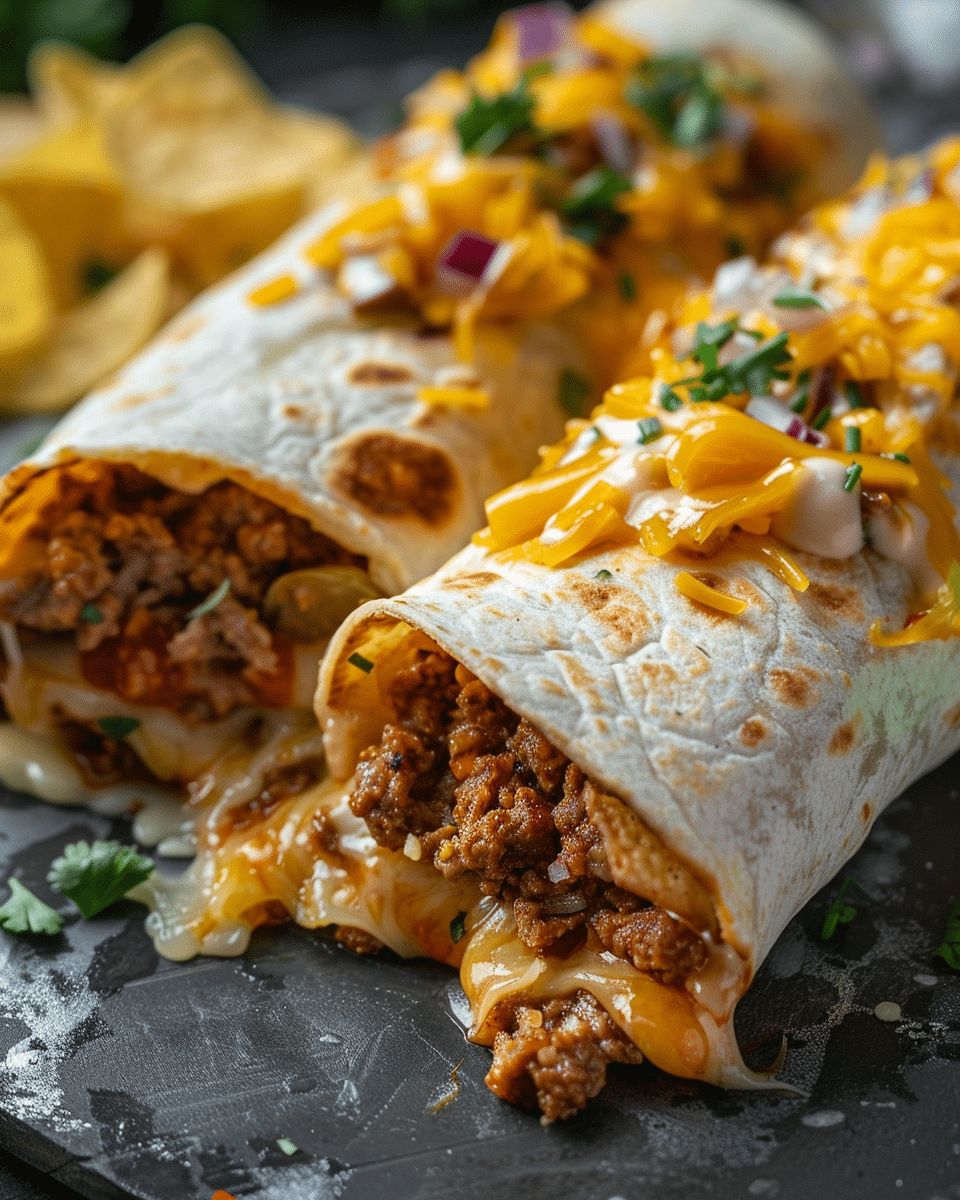
Quick Answer: Crispy Loaded Taco Burritos are a 35-minute meal featuring seasoned ground beef, Mexican rice, and cheese, elevated by a layer of crunchy chips (like Fritos or Doritos). For the best results, toast the assembled burrito in a skillet to seal the edges and create a golden, restaurant-style exterior.
Why You’ll Love These Crispy Loaded Taco Burritos
When it comes to weeknight dinner recipes, most home cooks are looking for a balance of flavor, convenience, and high-level satisfaction. These Crispy Loaded Taco Burritos check all those boxes and more. This isn’t just a standard burrito; it’s a carefully layered experience designed to satisfy every craving in a single bite.
- The Ultimate Texture Play: The genius of this recipe lies in the contrast. You get the bold, salty crunch of chips perfectly balanced by gooey cheese and smooth, cooling sour cream.
- Hearty and Filling: Packed with seasoned beef and rice, a single burrito serves as a complete, high-protein meal.
- Total Family Favorite: Kids are naturally drawn to the inclusion of their favorite chips, while adults appreciate the complex layers of spices and textures.
- Efficiency in the Kitchen: From the moment you pull out the skillet to the final golden toast, you’re looking at only about 35 minutes of total time.
- Endless Customization: Whether you want to swap proteins, crank up the heat with jalapeños, or experiment with different chip flavors, this recipe is a versatile canvas.
It’s the kind of reliable recipe that earns a permanent spot in your monthly dinner rotation because it delivers restaurant-quality results with minimal effort.
Essential Ingredients for Your Burrito Handheld Fiesta
Before you turn on the stove, gathering your ingredients is key. Having everything prepped—a technique chefs call mise en place—ensures that the assembly process is smooth and your tortillas don’t get soggy while you’re searching for the sour cream.
The Core Ingredient Breakdown
Use the table below to check your pantry and fridge. While the recipe is flexible, these specific quantities are optimized for four large, “loaded” burritos.
| Ingredient | Quantity | Pro-Tip / Notes |
|---|---|---|
| Lean ground beef | 1 lb | Substitute with ground turkey or plant-based crumbles for a lighter version. |
| Taco seasoning | 1 packet (1 oz) | Use a low-sodium version if you want more control over the salt levels. |
| Water or beef broth | ¼ cup | Beef broth adds a deeper, more savory “umami” profile than plain water. |
| Refried beans | 1 cup | Optional, but highly recommended as a “glue” to hold the meat together. |
| Mexican rice | 2 cups | Use leftover rice or a 90-second microwave pouch for maximum speed. |
| Burrito-sized tortillas | 4 large | Look for “Super Size” or “Extra Large” to ensure everything fits. |
| Fritos or Doritos | 2 cups | Fritos offer a corn-heavy crunch; Doritos add a zesty, cheesy punch. |
| Warm cheese dip | 1 cup | Jarred queso or a homemade melt both work beautifully. |
| Shredded Mexican blend | 1 cup | A mix of Monterey Jack, Cheddar, and Asadero melts best. |
| Sour cream | ½ cup | Adds the necessary acidity to cut through the richness of the beef. |
Step-by-Step Instructions: Mastering the Loaded Burrito
The secret to a burrito that doesn’t fall apart lies in the order of operations. Follow these steps to ensure your fillings stay put and your exterior stays crispy.
Step 1: Develop the Flavor Base
Start by browning your ground beef in a large skillet over medium heat. As it cooks, use a wooden spoon to break it into very small crumbles. This ensures every bite has an even distribution of meat. Once the meat is fully browned (no pink remaining), drain the excess fat. Stir in the taco seasoning and your liquid (water or broth). Let it simmer for 2-3 minutes until the liquid reduces into a thick, glossy sauce. If you are using refried beans, fold them in now to create a rich, cohesive filling.
Step 2: Prepare the Grains
While the beef is simmering, prepare your rice. If you’re using instant Mexican rice, follow the package instructions exactly. If you have leftover rice, sprinkle a teaspoon of water over it and microwave it briefly to restore its fluffy texture. The rice serves as the “insulator” in your burrito, soaking up juices from the meat and keeping the tortilla from getting mushy.
Step 3: The Secret to a Perfect Roll
Cold tortillas are the enemy of a good burrito. They are stiff and prone to cracking, which leads to “burrito blowouts.” To make them pliable, wrap the stack in a damp paper towel and microwave for 30 seconds, or heat them one by one in a dry skillet for 15 seconds per side. A warm tortilla stretches slightly, allowing you to pack in more toppings securely.
Step 4: Assembly – The Architecture of Crunch
Lay your warm tortilla on a flat surface. Imagine a rectangle in the center and place your ingredients in this specific order to maintain structural integrity:
- The Base: Two large spoonfuls of the beef/bean mixture.
- The Buffer: A generous scoop of Mexican rice.
- The Crunch: A handful of your chosen chips (Fritos or Doritos).
- The Liquid Gold: A drizzle of warm cheese dip.
- The Seal: A sprinkle of shredded cheese and a dollop of sour cream.
To fold: Bring the left and right sides toward the center, then grab the bottom edge and roll it upward tightly, tucking the sides in as you go.
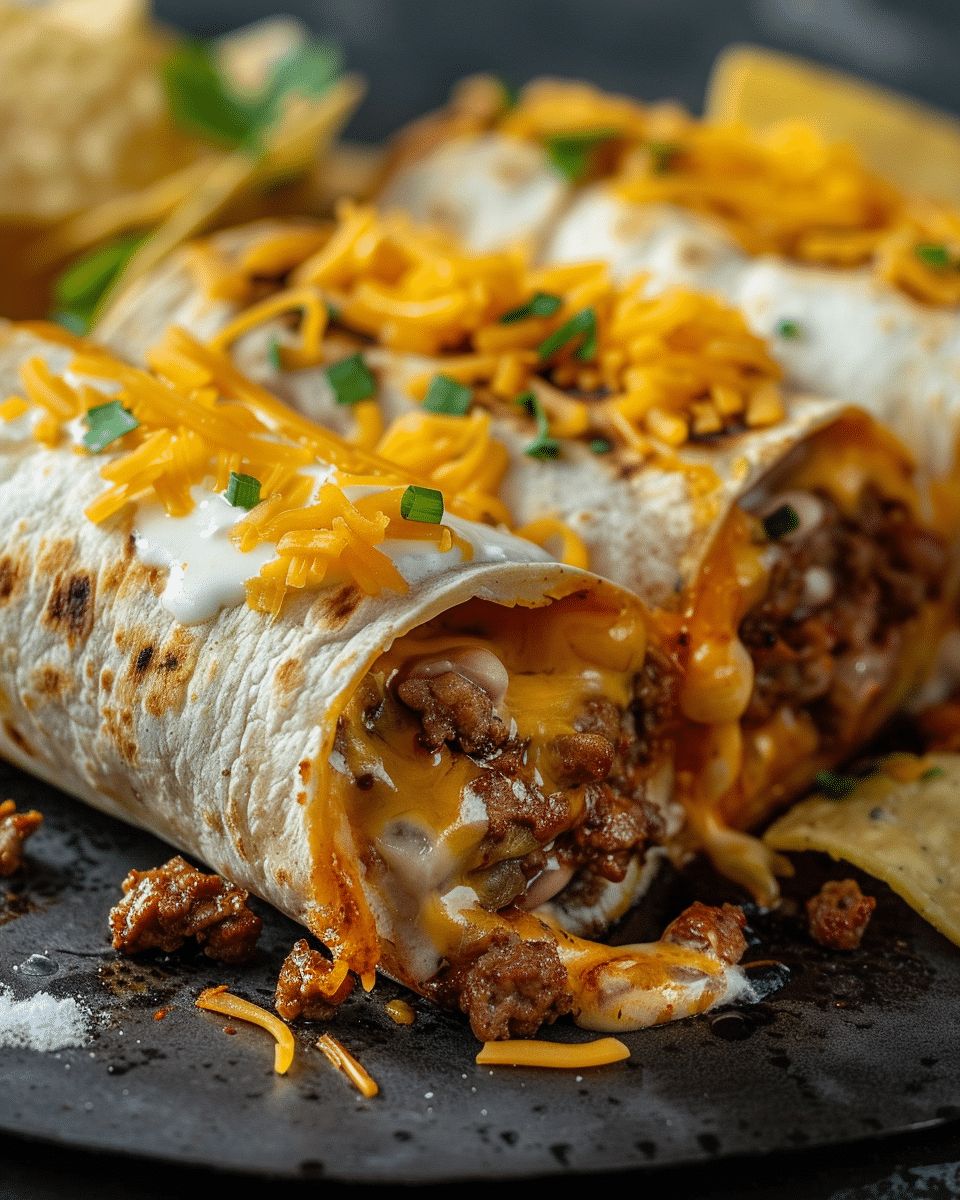
Step 5: The “Crispy” Finish
While you can eat the burrito as-is, the professional touch is to pan-sear it. Place the burrito seam-side down in a medium-hot skillet (no oil needed if using a non-stick pan). Press down slightly with a spatula. Once it’s golden brown (about 1-2 minutes), flip it. This step melts the internal cheese further and “glues” the seam shut.
Custom Variations and Professional Tips
Once you’ve mastered the base recipe, you can start tweaking the flavor profile to match your specific preferences.
Tips for Success
- Don’t Overfill: It’s tempting to keep adding more chips, but an overstuffed burrito will almost always tear. Stick to the suggested quantities for the first few tries.
- Manage the Moisture: If your salsa or sour cream is very watery, add it sparingly inside the burrito. Better yet, use them as dipping sauces on the side to keep the interior dry and the chips crunchy for longer.
- Chip Strategy: If you aren’t eating the burritos immediately, wait until the very last second to add the chips so they don’t lose their snap.
Flavor Variations to Try
- The Spicy Heatwave: Use Flamin’ Hot Doritos, add sliced pickled jalapeños, and swap the regular cheese dip for a spicy pepper jack queso.
- The Lean Machine: Use 99% lean ground turkey, brown rice, fat-free Greek yogurt (instead of sour cream), and baked tortilla chips.
- The Veggie Delight: Replace the beef with a mix of black beans, corn, and sautéed bell peppers. The texture remains excellent thanks to the chips.

Storage, Freezing, and Reheating
These burritos are excellent candidates for meal prep, provided you handle the chips correctly.
How to Store and Reheat
- Refrigeration: Wrap leftovers tightly in aluminum foil. They will stay fresh for up to 3 days.
- Freezing: You can freeze these burritos for up to 2 months. Note: If you plan to freeze them, leave the chips out! Add fresh chips after reheating for the best experience.
- Reheating for Crispness: Avoid the microwave if possible, as it makes the tortilla chewy. Instead, bake the foil-wrapped burrito at 350°F (175°C) for 15-20 minutes. For a final crisp, pop it in the air fryer for 3 minutes at 370°F.
You May Also Like
If you enjoyed this crunchy fusion favorite, explore more delicious inspiration: Easy Mexican Dinner Recipes, Quick Ground Beef Meals, Taco Tuesday Ideas, and Game Day Appetizers.
Learn more about the history of this versatile dish: Burrito – Wikipedia
Frequently Asked Questions
Can I make these burritos ahead of time for meal prep?
Yes, you can prepare the beef and rice components up to 3 days in advance. However, for the best crispy experience, we recommend assembling and adding the chips right before you are ready to eat to prevent them from becoming soggy.
What are the best chips to use for maximum crunch?
While Fritos offer a dense corn crunch that holds up well against the heat, Nacho Cheese Doritos are a fan favorite for adding an extra punch of zesty seasoning. If you want a hint of spice, try Flamin’ Hot Cheetos or spicy tortilla chips.
How do I prevent my burrito from falling apart in the pan?
The secret is the seam-side down technique. Always place the folded edge of the tortilla onto the hot skillet first. The heat acts as a “culinary glue,” melting the cheese and searing the tortilla shut to create a perfect seal.
Final Thoughts
These Crispy Loaded Taco Burritos with Cheese and Chips are a testament to how simple ingredients can create a truly restaurant-quality experience at home. By combining the nostalgic crunch of your favorite snack chips with savory beef and melty cheese, you transform a standard weeknight dinner into an exciting meal that the whole family will look forward to.
Whether you’re hosting a casual gathering or just looking to spice up your routine, don’t be afraid to get creative with your fillings. Grab your favorite bag of chips, fire up the skillet, and enjoy the perfect handheld feast. Don’t forget to share your creations with us!

