There’s a certain magic that happens when you pull a fresh pizza out of the oven, but the Hawaiian pizza takes that enchantment to a whole new level. Whether you’re a lifelong fan or a pineapple-on-pizza skeptic, there is no denying the irresistible pull of salty Canadian bacon meeting the caramelized sweetness of juicy pineapple. This recipe isn’t just about throwing toppings on a base; it’s about creating a harmonious, gourmet experience right in your own kitchen.
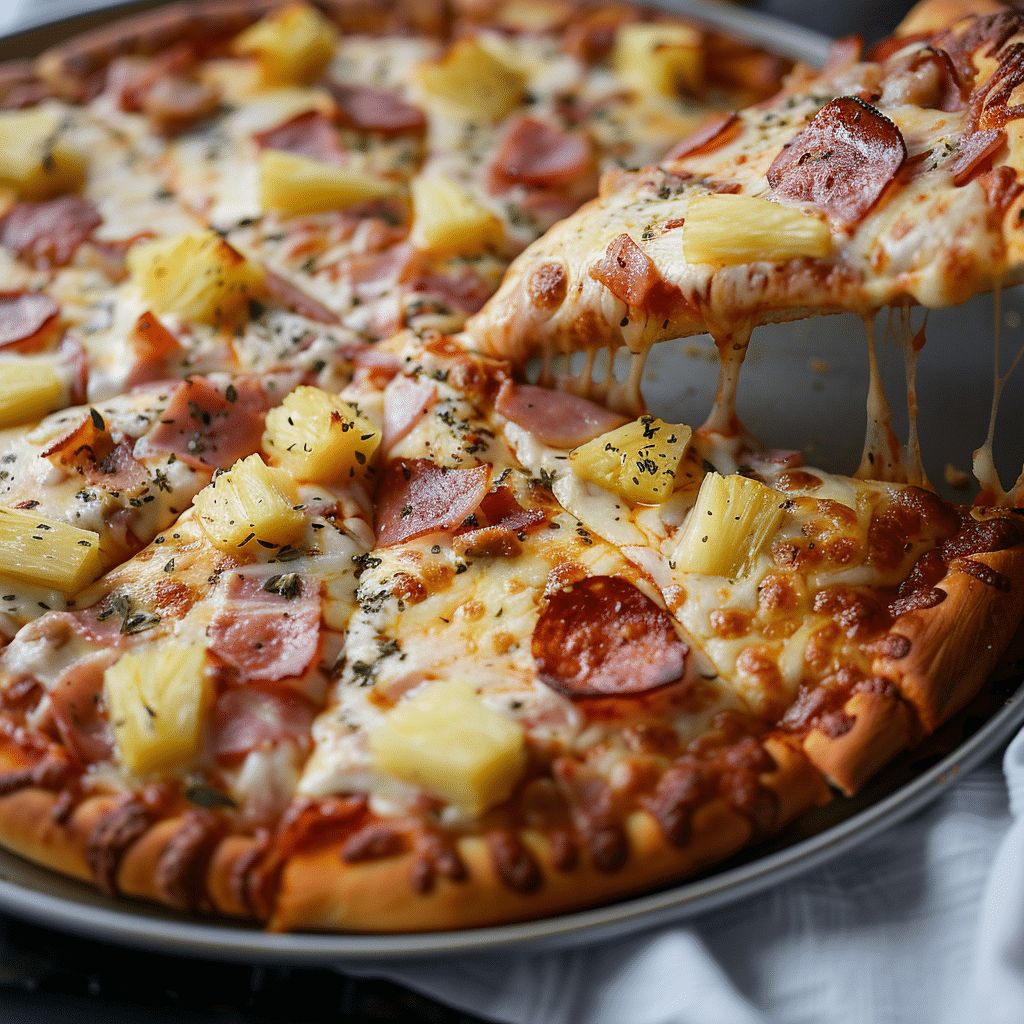
Forget the soggy, lukewarm delivery boxes. We’re talking about a homemade Hawaiian pizza with a crust that’s crispy on the outside, airy on the inside, and loaded with high-quality mozzarella. By making your own dough and selecting fresh ingredients, you transform a controversial classic into the undisputed star of your weekly dinner rotation. It’s simple, satisfying, and honestly? A little bit addictive.
Quick Answer: The secret to a world-class Hawaiian pizza lies in a homemade crust and the perfect balance of salty Canadian bacon with sweet pineapple. Bake at 450°F (230°C) for a golden finish, and always use a high-quality marinara to anchor those vibrant flavors.
Why Homemade Pizza Crust Makes All the Difference
If you’ve ever used a store-bought, pre-baked base, you know it’s convenient—but it rarely delivers that authentic pizzeria “bite.” Making your pizza dough from scratch is a total game-changer. When you control the fermentation and the quality of the flour, you end up with a foundation that is robust, aromatic, and structurally sound enough to hold all those juicy pineapple chunks.
The Magic of Fresh Dough
Freshness is the primary advantage here. Store-bought doughs often contain preservatives to extend shelf life, which can leave a chemical aftertaste. Homemade dough, by contrast, relies on the simple chemistry of yeast, sugar, and flour. This results in a soft, fresh, and aromatic base that complements the rich toppings rather than competing with them. If you’re looking to elevate your meal further, consider pairing this with a side like our Baked Spinach Mushroom Quesadillas for a full gourmet spread.
Complete Ingredient Control
When you are the “chef de cuisine” in your own home, you choose the quality. You can opt for organic olive oil, high-protein bread flour for extra chew, or even infuse the crust with a hint of garlic powder or dried herbs. This flexibility ensures your Hawaiian pizza tastes exactly the way you want it to, every single time.
Essential Ingredients for the Perfect Pizza Dough
Before you start kneading, you need to gather your “squad.” Each of these ingredients plays a specific role in ensuring your crust rises to the occasion.
| Ingredient | Amount | Purpose |
|---|---|---|
| Warm Water | 1 cup (95-110°F) | Activates yeast and hydrates the flour. |
| Sugar | 1 tbsp | Feeds the yeast to ensure a strong rise. |
| Active Dry Yeast | 2 tsp | The leavening agent that creates air bubbles. |
| Salt | 1 tsp | Enhances flavor and regulates yeast activity. |
| All-Purpose Flour | 2 ½ cups | Provides the structure and chewy texture. |
| Olive Oil | 1 tbsp | Adds richness and keeps the crust tender. |
Warm Water: The Catalyst
The temperature of your water is the most critical variable. Think of it as a “Goldilocks” situation: too hot (over 120°F) and you’ll kill the yeast; too cold and the yeast will stay dormant. Aim for 95°F to 110°F. It should feel like a warm bath—comfortable, not scalding.
Sugar and Yeast: The Power Couple
Sugar acts as the fuel for your Active Dry Yeast. As the yeast consumes the sugar, it releases carbon dioxide, which is what makes the dough expand and become fluffy. Without this interaction, your pizza would be as flat as a cracker.
The Science of a Perfect Pizza Dough
The foundation of any world-class pizza is the crust. While it might be tempting to rush this process, understanding the relationship between your ingredients will ensure a professional-grade result every time. When you combine flour, water, and yeast, you aren’t just making a mixture; you are starting a biological and chemical reaction that determines the final texture of your Hawaiian pizza.
Activating Your Yeast and Flour Hydration
The first step in our journey is proofing the yeast. This ensures that the microorganisms are alive and ready to produce the carbon dioxide needed for a light, airy crust. Hydration is also key—the 2.5 cups of all-purpose flour suggested in this recipe creates a dough that is easy to handle but still moist enough to develop a beautiful crumb.
| Phase | Duration | Expected Outcome |
|---|---|---|
| Yeast Activation | 5–10 Minutes | Foamy, bubbly surface on the water mixture. |
| First Rise | 30–45 Minutes | Dough doubles in size and feels pillowy. |
| Kneading | 5–7 Minutes | Smooth, elastic texture that passes the “spring-back” test. |
If your yeast does not foam after ten minutes, stop. It usually means the water was too hot (killing the yeast) or too cold (keeping it dormant). Starting over at this stage is better than ending up with a flat, dense pizza.
Step-by-Step Instructions for the Ultimate Hawaiian Crust
Once your yeast is active, it’s time to build the structure. This is where the olive oil and salt come into play. The salt strengthens the gluten, while the oil provides a tender mouthfeel and helps the crust brown beautifully in the oven.
- The Initial Mix: Add your olive oil and salt to the yeast mixture. Slowly incorporate 1.5 cups of flour. If you are using a stand mixer, use the paddle attachment until a shaggy mass forms.
- Developing the Dough: Swap to the dough hook (or use your hands) and add the remaining flour 1/4 cup at a time. The dough should begin to pull away from the sides of the bowl cleanly.
- The Kneading Process: This is the most vital physical step. Kneading aligns the gluten proteins. On a floured surface, push the dough away with the palms of your hands, fold it back, and rotate. Repeat this for at least 5 minutes.
- The Windowpane Test: To check if you’ve kneaded enough, tear off a small piece of dough and stretch it. If it can stretch thin enough to see light through it without breaking, the gluten is ready.
Mastering the Rise
Place your dough ball in a greased bowl and cover it with a warm, damp cloth. The fermentation period is when the flavor develops. During these 45 minutes, the yeast consumes the sugar and releases gases that create those beautiful air pockets in the crust. If you have the time, a slow rise in the refrigerator for 24 hours will yield an even more complex, “pizzeria-style” flavor profile.
The Perfect Balance: Selecting Your Toppings
A Hawaiian pizza is defined by its toppings, but there is a strategy to ensure you don’t end up with a soggy mess. Because pineapple and Canadian bacon both contain moisture, how you prep them matters.
- The Sauce: Use a thick, herb-heavy marinara sauce. Avoid watery sauces, as the pineapple will add its own juice during the bake.
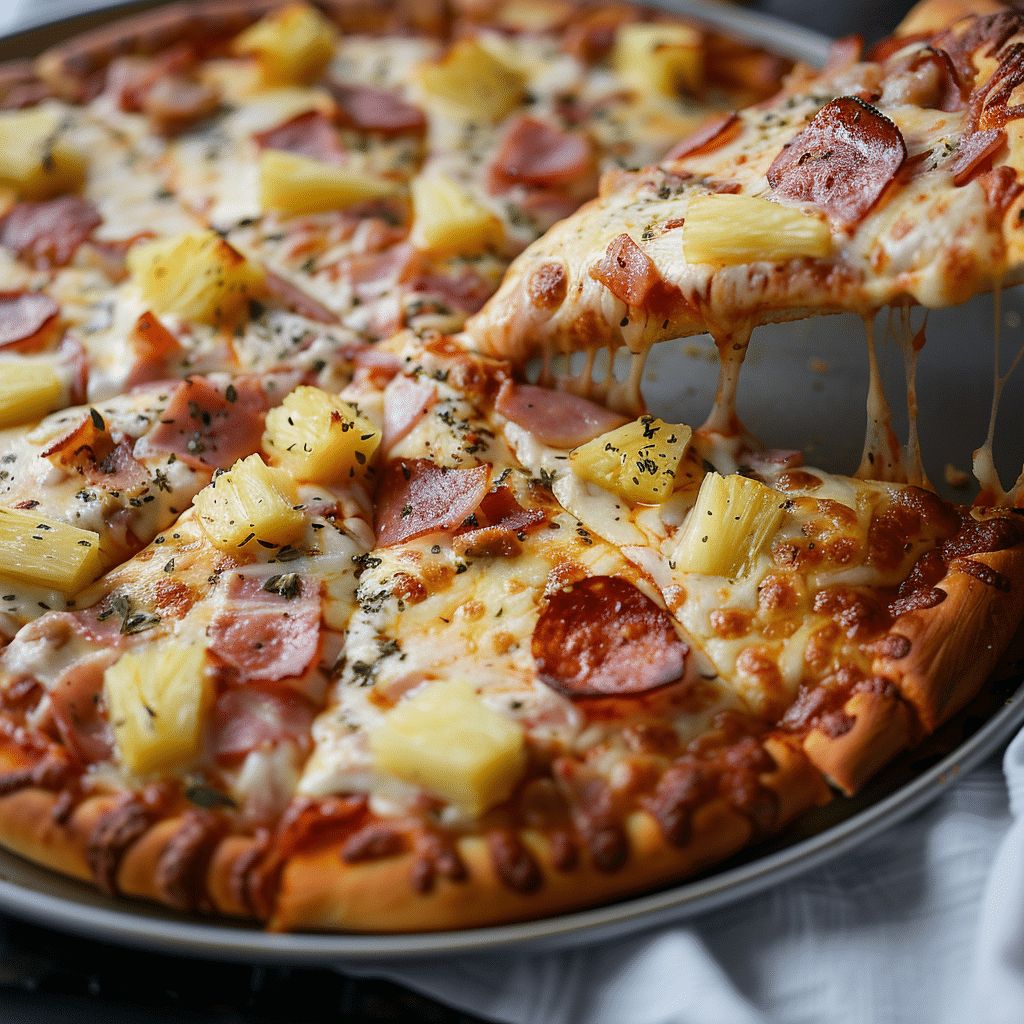
- The Cheese: High-moisture mozzarella is delicious but can be oily. A low-moisture, part-skim shredded mozzarella provides that iconic “cheese pull” without making the pizza greasy.
- The Meat: Sliced Canadian bacon (or lean ham) should be thin. This allows the edges to crisp up under the high heat of the oven.
- The Pineapple: If using canned pineapple, drain it thoroughly and pat it dry with paper towels. Fresh pineapple is even better—carve it into small, uniform chunks for a burst of caramelized sweetness.
Assembling the Pizza: The Layering Secret
How you layer your pizza determines how the flavors meld. Follow this specific order for the best results:
- Stretch, Don’t Roll: Use your hands to stretch the dough into a circle. Rolling with a pin can crush the air bubbles you worked so hard to create during the rise.
- The Base Layer: Spread 2/3 cup of marinara, leaving a 1-inch border for the crust.
- The Cheese Barrier: Apply the mozzarella before the fruit and meat. This acts as a barrier, preventing the juices from the pineapple from soaking into the raw dough.
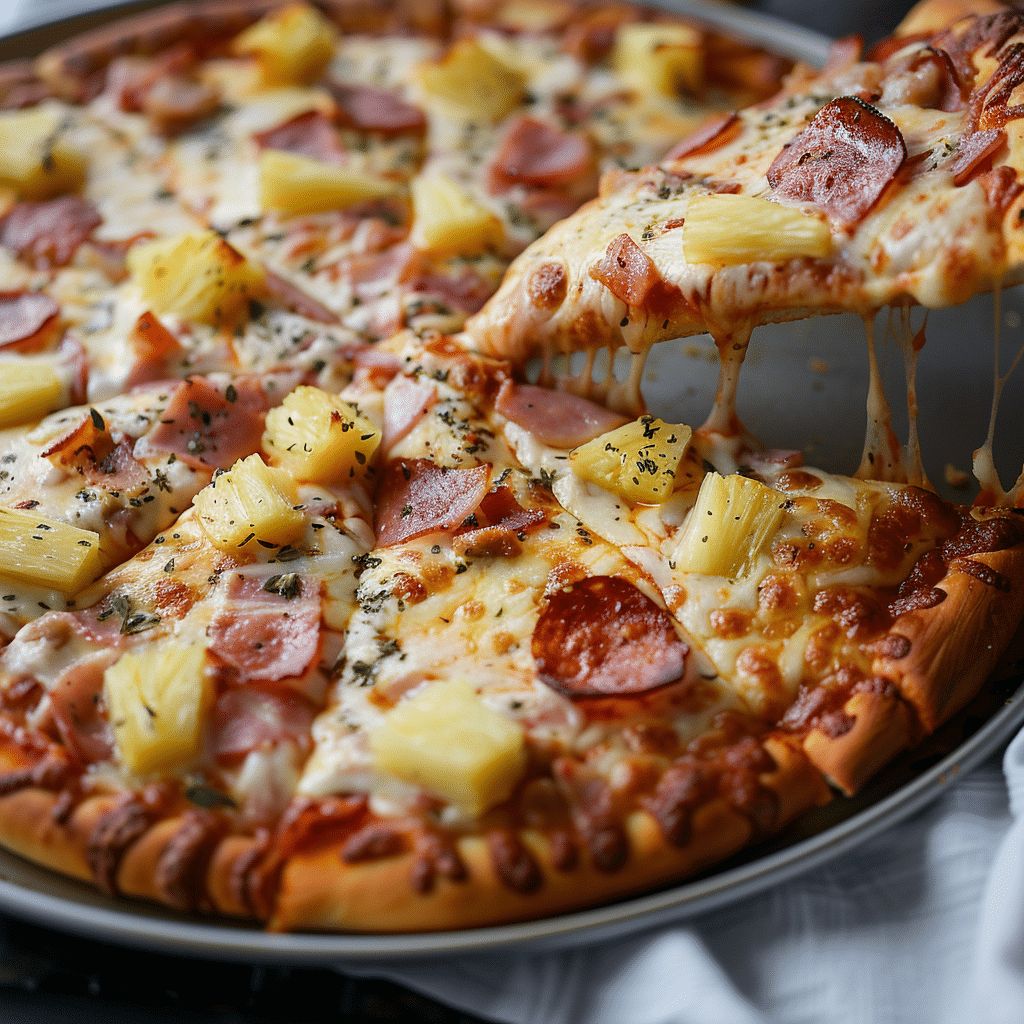
- The Star Toppings: Distribute the Canadian bacon and pineapple evenly.
- The Finishing Touch: Sprinkle dried oregano and sea salt over the top. This little bit of seasoning on the surface helps the flavors “pop” immediately upon the first bite.
Baking for a Golden-Brown Finish
Heat is your best friend when baking pizza. Most home ovens max out at around 450°F to 500°F. For this recipe, 450°F (230°C) is the sweet spot. If you have a pizza stone, place it in the oven while it preheats to ensure the bottom of the crust gets an immediate blast of heat.
The Baking Timeline
Place your pizza on the center rack. Watch for the crust to turn a deep golden brown and the cheese to develop those signature charred brown spots. This usually takes between 20 and 22 minutes. If you notice the cheese browning too quickly, you can move the pizza to a lower rack for the final 5 minutes to ensure the dough is fully cooked through.
| Time Marker | What to Look For |
|---|---|
| 10 Minutes | Dough has puffed up; cheese is fully melted. |
| 15 Minutes | Crust edges start to turn pale gold; pineapple begins to caramelize. |
| 20–22 Minutes | Cheese is bubbling and browned; crust is firm and golden. |
Expert Tips for Success
Even the most seasoned home cooks can run into trouble. Here are a few insider tips from the Cook with Feast kitchen to ensure your Hawaiian pizza is legendary:
- Let it Rest: When you take the pizza out of the oven, wait at least 3–5 minutes before slicing. This allows the cheese to “set” so it doesn’t slide off the slice.
- Handle the Stickiness: If your dough is too sticky to handle, don’t keep adding flour indefinitely. Lightly oil your hands instead; it makes the dough much easier to shape without making it tough.
- The Crispy Bottom Hack: If you don’t have a pizza stone, bake your pizza on the lowest rack for the first 10 minutes, then move it to the middle. This mimics the heat of a brick oven.
Storage and Reheating
Leftover Hawaiian pizza is a breakfast of champions for many, but reheating it correctly is an art. To maintain the crispy crust, avoid the microwave at all costs. Instead, place slices in a dry skillet over medium heat for 2 minutes, then add a drop of water to the pan and cover with a lid for 30 seconds. The steam will melt the cheese while the skillet keeps the bottom crunchy.
You May Also Like
If you enjoyed making this Hawaiian pizza, explore more recipes on our site: Mastering Pizza Dough, Easy Dinner Recipes, American Comfort Food, and Cajun Shrimp Pasta.
Source: Wikipedia
Frequently Asked Questions
Can I use fresh pineapple instead of canned?
Absolutely! Fresh pineapple provides a much more vibrant and slightly tart flavor compared to canned. However, ensure you slice the fruit thinly and pat the pieces dry with a paper towel before adding them to the pizza to prevent the crust from becoming soggy.
How can I make my pizza crust extra crispy?
To achieve a pizzeria-style crispy crust, use a pizza stone and preheat it for at least 30 minutes before baking. If you don’t have a stone, you can place your baking sheet on the lowest rack of the oven to ensure the bottom receives the most direct heat.
Can I make the dough ahead of time and freeze it?
Yes, this dough is very freezer-friendly. After the dough has risen once, coat it lightly in olive oil, place it in an airtight freezer bag, and store it for up to 3 months. Thaw it in the refrigerator overnight before you plan to use it.
Final Thoughts
Creating the perfect Hawaiian pizza at home is a rewarding experience that far surpasses any delivery option. By focusing on a high-quality homemade crust and balancing the sweetness of the pineapple with the salty richness of the Canadian bacon, you can turn a simple weeknight meal into a gourmet treat that the whole family will love.
Don’t be afraid to experiment with your toppings or even add a drizzle of spicy honey or a sprinkle of red pepper flakes for an extra kick. We hope this guide helps you master the art of the sweet and savory pizza. Happy baking!