
The Ultimate Game Changer: Why Sous Vide Strip Steak is Perfection
Imagine hosting a dinner party where the pressure of cooking the perfect steak completely vanishes. You pull a New York strip from a water bath, and it is perfectly edge-to-edge medium-rare, buttery soft, and exploding with flavor. There is no guesswork, no frantic checking with a thermometer, and zero stress. That is the undisputed magic of sous vide strip steak.
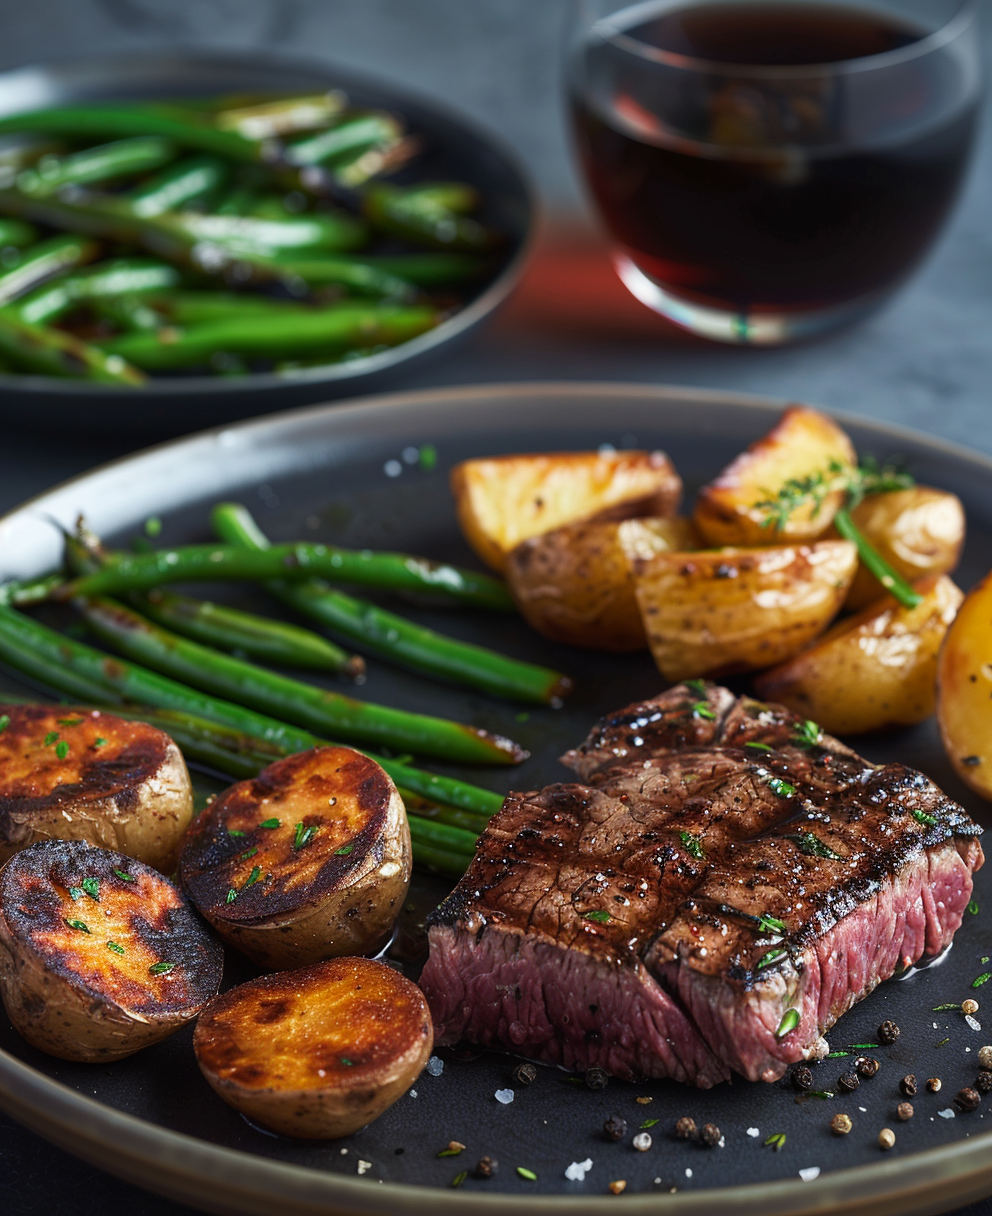
I still remember my first time trying this method; my husband actually asked which high-end steakhouse I ordered from. Little did he know, it came from our own kitchen with about ten minutes of active work. If you have ever struggled with a steak that was charred on the outside but raw in the middle, or gray and overcooked throughout, this recipe is for you.
A Short History of “Under Vacuum” Cooking
While it sounds like something out of a sci-fi movie, sous vide (French for “under vacuum”) has been the secret weapon of professional chefs since the 1970s. French masters wanted a way to cook delicate proteins evenly without losing a drop of moisture. Today, this technology has moved from elite restaurant kitchens to our countertops, allowing home cooks to achieve a level of precision that was once impossible.
What You’ll Need: Ingredients & Substitutions
This recipe focuses on simple, high-quality ingredients that allow the beef to shine.
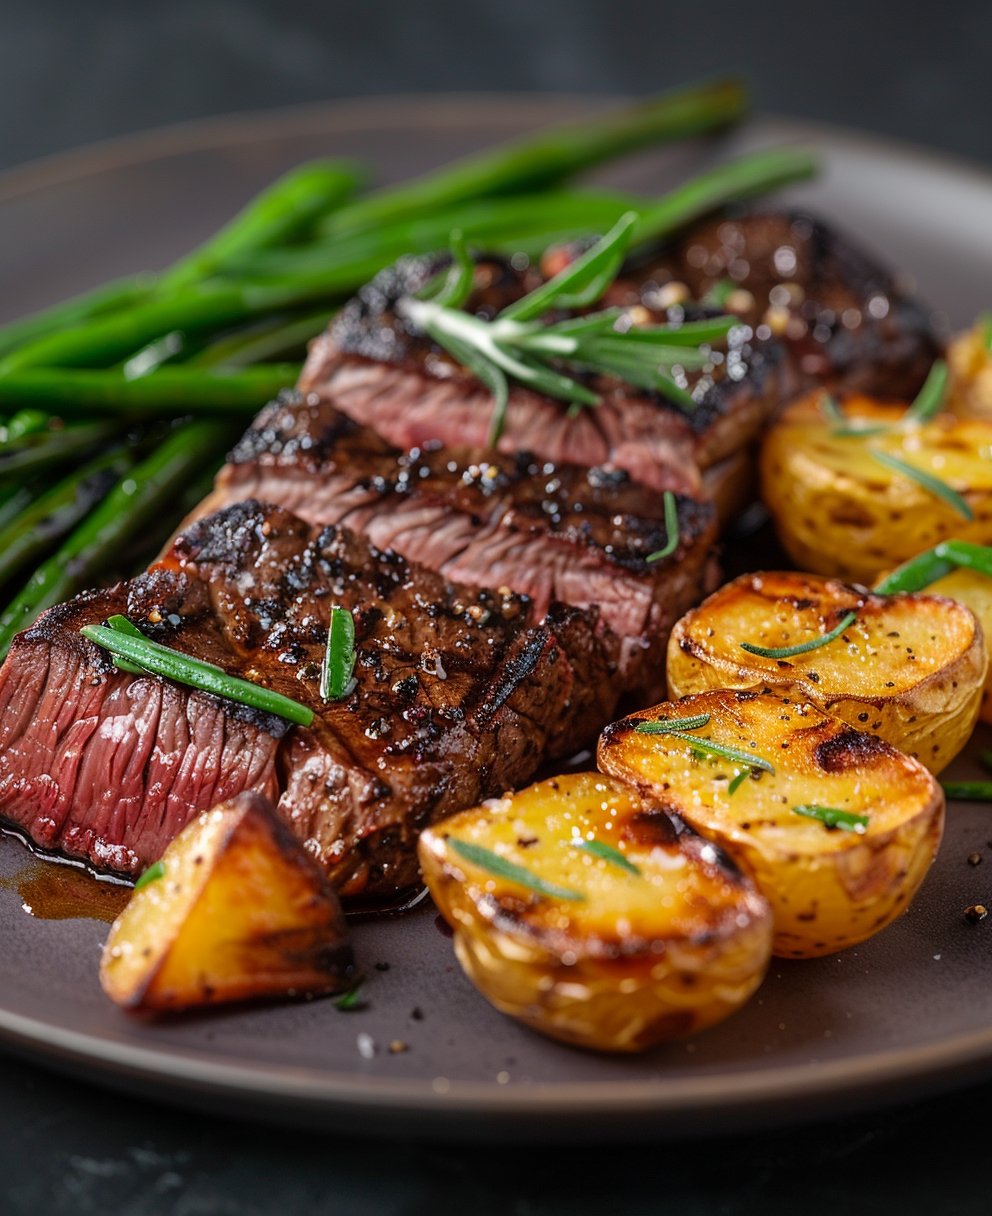
The Main Components:
- 2 New York Strip Steaks: Ideally 1.5 inches thick. Thickness is your friend with sous vide!
- Seasoning: 2 teaspoons kosher salt and 1 teaspoon freshly ground black pepper.
- The Aromatics: 3 cloves of smashed garlic and 2 sprigs of fresh thyme.
- The Finishing Fat: 2 tablespoons olive oil (for the sear) and 4 tablespoons unsalted butter (for the pan-baste).
Smart Substitutions:
Don’t have a New York Strip? This method works beautifully for flank steak or ribeye. If your garden is lacking thyme, rosemary or oregano are fantastic alternatives. For those following a dairy-free diet, simply swap the butter for a high-quality olive oil or avocado oil during the final sear.
The Foolproof Preparation Guide
Step 1: The Essential Seasoning
Begin by patting your steaks bone-dry with paper towels. A dry steak is a happy steak—it ensures the seasoning sticks and leads to a better crust later. Season both sides generously with salt and pepper. Pro Tip: Let them sit at room temperature for about 15 minutes before bagging to help the salt penetrate the fibers.
Step 2: Sealing in the Flavor
Place your steaks into vacuum-sealed bags or heavy-duty zip-top bags. If you are using a zip-top bag, use the “water displacement method”: submerge the bag slowly in water to push the air out before sealing. Drop in your butter, garlic, and thyme. This creates a flavor-infused environment while the steak cooks.
Step 3: The Precision Bath
Fill your container with water and set your sous vide immersion circulator to 130°F (54°C) for a perfect medium-rare. Submerge the bags completely. For a 1.5-inch steak, you should aim for 1.5 to 4 hours. The beauty of sous vide is that even at the 4-hour mark, your steak won’t be overcooked; it will just be more tender!
Step 4: The Golden Crust (The Sear)
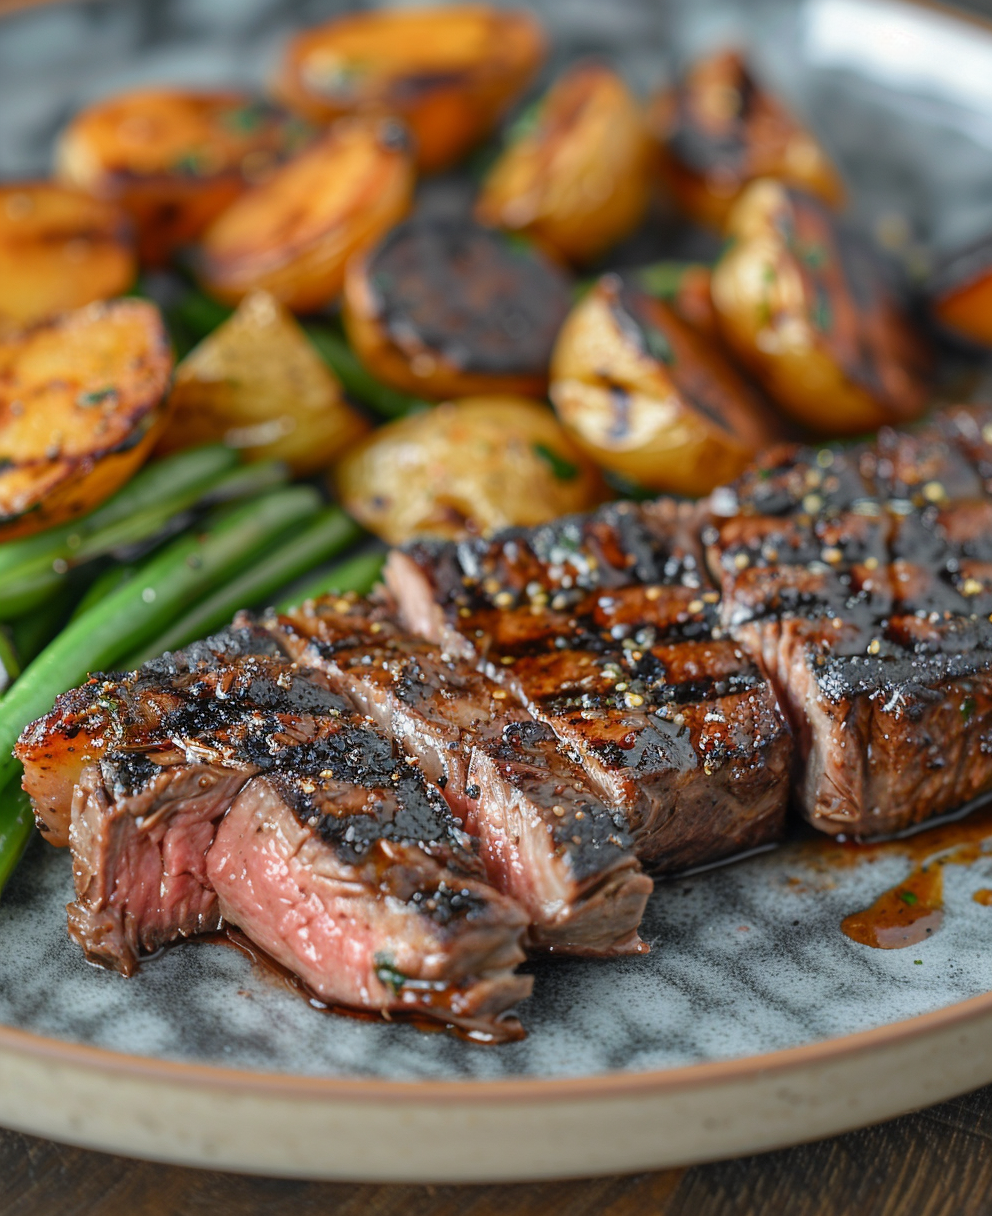
Once the timer hits, remove the steaks and pat them dry again. Heat a cast-iron skillet over high heat with olive oil. Sear each side for only 1 minute. During the last 30 seconds, add a knob of butter to the pan and spoon it over the steak for that “Instagram-ready” glistening finish.
Quick Timing Reference

- Prep Time: 10 Minutes
- Sous Vide Time: 1.5 – 4 Hours
- Searing Time: 2 Minutes
- Resting Time: 5 Minutes (though less critical with sous vide!)
Common Mistakes to Avoid
- Skipping the Sear: Never serve a steak straight from the bag! It needs that Maillard reaction (the brown crust) for texture and taste.
- Overcrowding: Ensure the water can circulate freely around each bag in the bath.
- Wet Steaks: If the steak is wet when it hits the skillet, it will steam instead of sear. Pat it dry!
Storage & Leftover Tips
If you somehow have leftovers, store them in an airtight container for up to 3 days. To reheat, avoid the microwave! Instead, use your sous vide machine to warm it back up to 130°F, or flash-sear it in a hot pan to maintain that juicy interior.
Frequently Asked Questions
Can I cook frozen steak sous vide?
Yes! This is a lifesaver. Simply add an extra hour to the cooking time (2.5 to 5 hours total) and cook directly from frozen.
Is it better than grilling?
Grilling gives you a smoky char, but sous vide gives you perfect edge-to-edge doneness. For the ultimate result, sous vide your steak first, then finish it on a screaming-hot grill for 30 seconds per side!
What herbs work best?
Beef loves woody herbs. Thyme and rosemary are the gold standard, but a little sage can add a lovely earthy note.
Final Thoughts
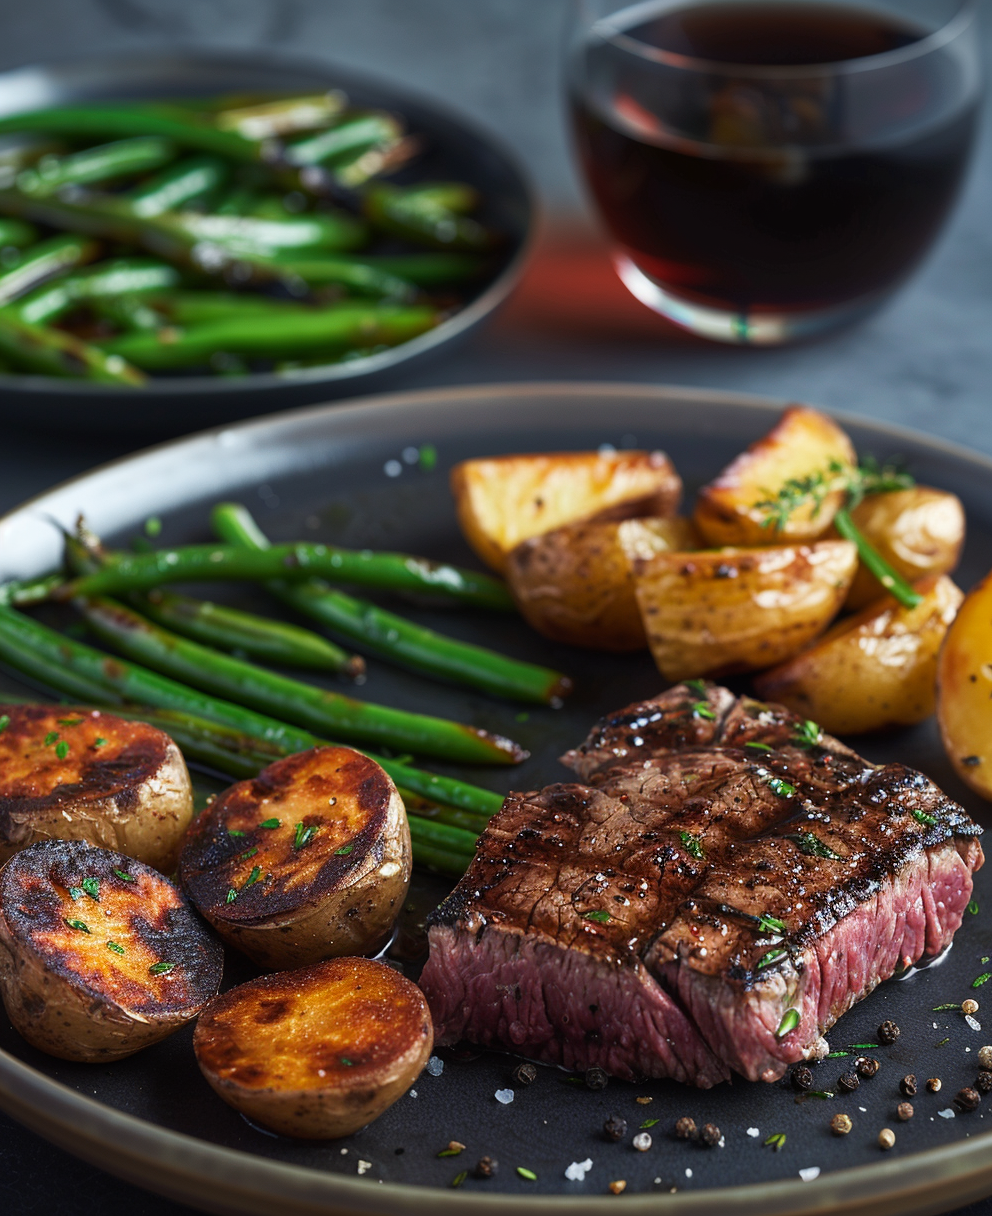
The sous vide strip steak isn’t just a recipe; it is a way to reclaim your confidence in the kitchen. It’s the perfect solution for everything from a high-stakes holiday dinner to a simple “fancy” Tuesday night. Once you taste a steak cooked to the exact degree of perfection you desire, you may never go back to the old way again.
Would you like me to help you create a custom time and temperature chart for different levels of steak doneness?