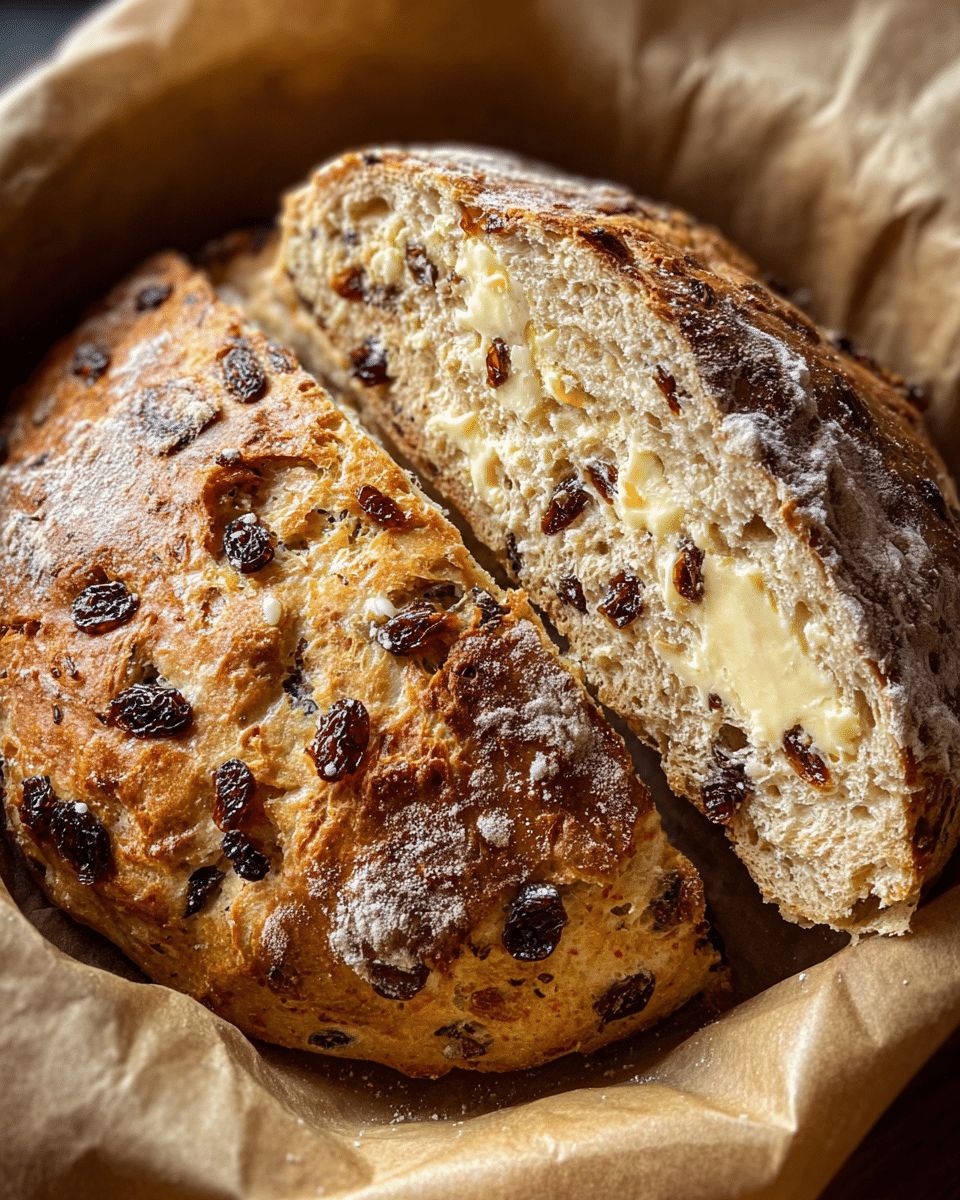
Cinnamon Raisin Bread is one of those timeless recipes that manages to feel both like a special treat and a practical kitchen staple. This loaf brings together the gentle sweetness of sun-dried raisins, the warmth of aromatic spices, and a soft, pillowy interior wrapped in a signature golden crust. Whether you enjoy it toasted with a pat of melting butter in the morning or sliced alongside a savory dinner, this bread delivers artisanal comfort without the complicated effort.
Made with everyday pantry ingredients and baked in a Dutch oven to achieve that perfect bakery-style finish, this recipe is designed to suit both novice bakers and seasoned pros. A subtle hint of lemon zest lifts the flavor profile, while a blend of cinnamon and nutmeg provides a cozy depth that fills your entire home with an irresistible aroma. Once you experience the contrast of the crisp crust and the tender, fruit-studded crumb, this loaf is guaranteed to become a regular in your baking rotation.
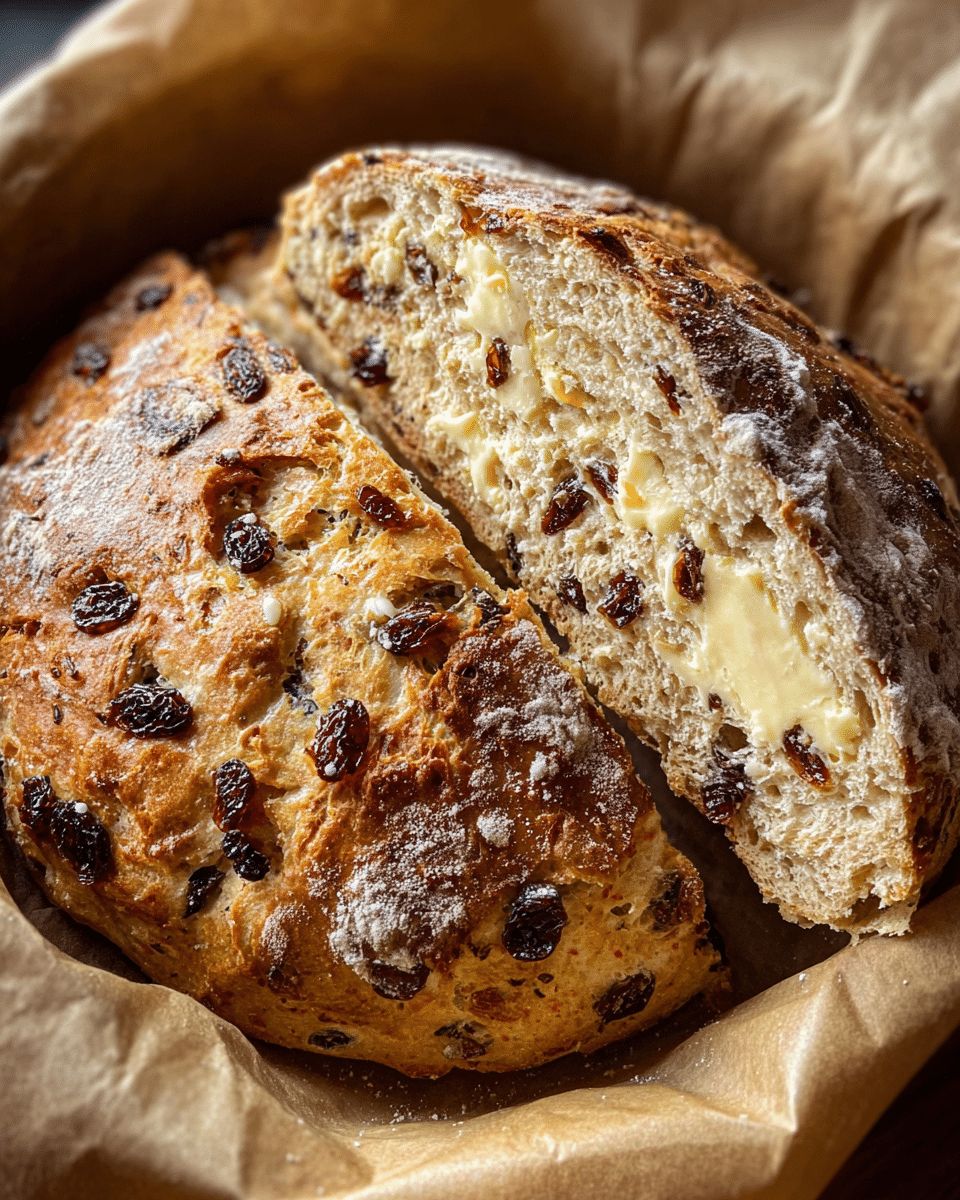
Quick Answer: This Cinnamon Raisin Bread is an easy-to-follow Dutch oven recipe that combines all-purpose flour, yeast, warm milk, and spices. By using a Dutch oven to trap steam, you achieve a professional-grade crisp crust and a soft, airy center packed with sweet raisins and aromatic cinnamon.
Essential Ingredients for the Perfect Cinnamon Raisin Loaf
Creating a bakery-quality loaf at home starts with understanding your pantry staples. This recipe uses accessible ingredients that, when combined correctly, produce a complex flavor profile and a superior crumb. The addition of citrus and specific warm spices elevates this from a standard bread to a gourmet experience.
The Core Components
- All-Purpose Flour: Provides the structural foundation while maintaining a tender bite.
- Active Dry Yeast: The leavening agent responsible for that airy, pillowy rise.
- Warm Milk and Water: A blend of hydration; milk adds richness and a softer crust, while water aids in steam production.
- Brown Sugar: Offers a deeper, molasses-like sweetness compared to white sugar.
Flavor Enhancers and Spices
To achieve that signature “warm” taste, we use a specific ratio of spices and a secret citrus addition. The lemon zest is non-negotiable—it cuts through the richness and brightens the dried fruit.
| Ingredient | Measurement | Purpose |
|---|---|---|
| Ground Cinnamon | 1 Tablespoon | Warmth and signature aroma |
| Ground Nutmeg | ½ Teaspoon | Subtle earthy complexity |
| Lemon Zest | Zest of 1 Lemon | Brightens flavors and balances sugar |
| Raisins | 1 Cup | Sweetness and moisture retention |
Step-by-Step Instructions for Dutch Oven Success
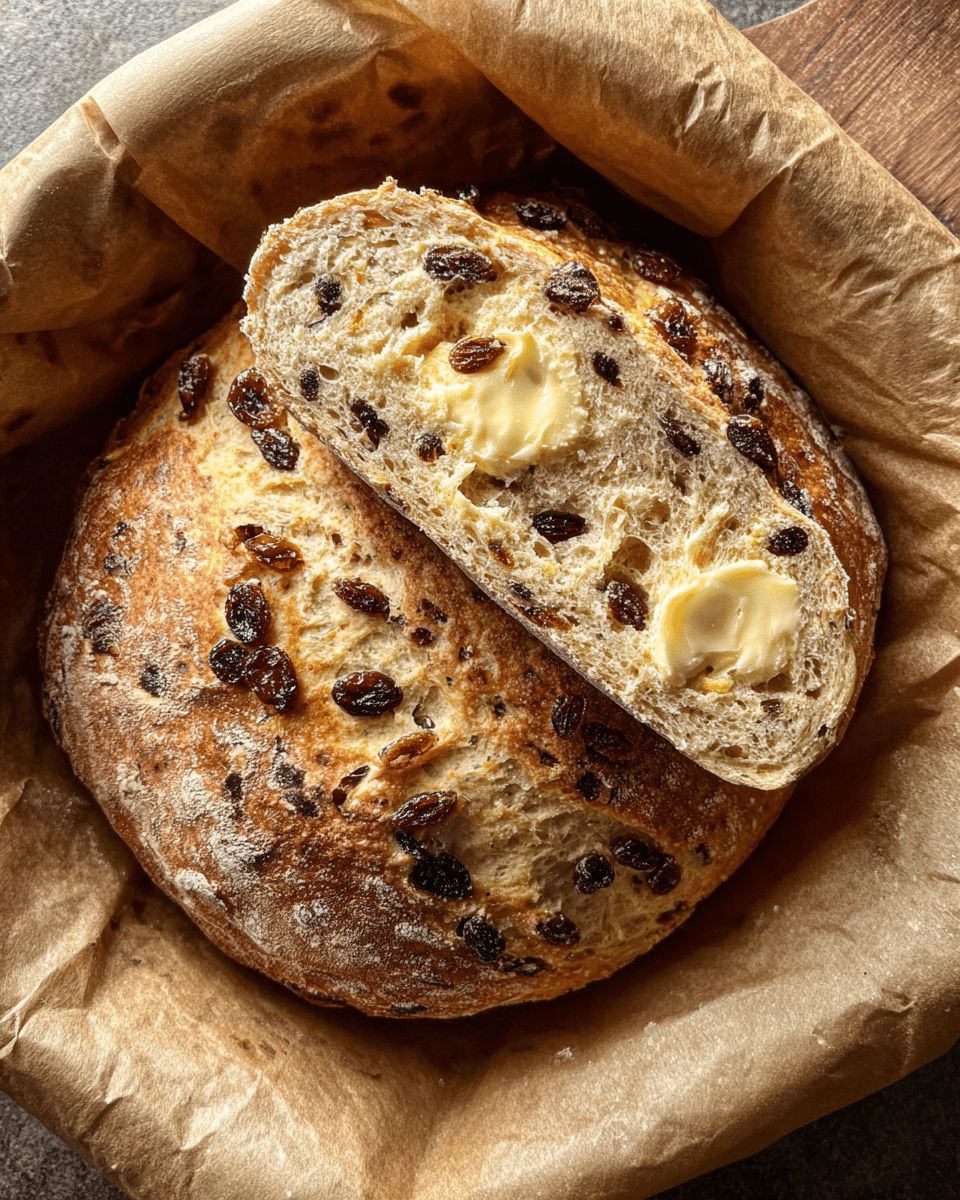
Baking in a Dutch oven is the ultimate “cheat code” for home bakers. The heavy lid traps the moisture evaporating from the dough, creating a steamy environment that allows the bread to expand fully before the crust sets. This results in a massive “oven spring” and a thin, crackly exterior.
Step 1: Mixing and First Rise
In a large mixing bowl, whisk together your flour, yeast, salt, sugar, cinnamon, and nutmeg. Once the spices are evenly distributed, fold in the raisins. Pour in your warm liquids (ensure they are between 100°F and 110°F to avoid killing the yeast) and the lemon zest. Mix until a shaggy, sticky dough forms. Cover the bowl with a damp cloth or plastic wrap and let it rise in a warm, draft-free spot for about 1 hour, or until doubled in size.
Step 2: Shaping and Preheating
While the dough rises, place your empty Dutch oven (with the lid) into the oven and preheat to 450°F (232°C). Handling a hot pot requires caution, but it is essential for the crust’s development. Turn your risen dough onto a lightly floured piece of parchment paper. Gently fold the edges toward the center to form a round boule. Let it rest for 30 minutes for a second, shorter rise.
Step 3: The Baking Process
- Carefully remove the hot Dutch oven from the oven.
- Lift the parchment paper with the dough and lower it into the pot.
- Place the lid back on and bake for 30 minutes.
- Remove the lid and bake for an additional 5 to 8 minutes to deepen the golden-brown color.

Mastering the Texture: Soft Crumb and Crisp Crust
The hallmark of a great Cinnamon Raisin Bread is the contrast between the crisp crust and the moist interior. If your bread is turning out too dense or the crust is too hard, consider these professional adjustments.
Avoiding Gummy Bread
One of the most common mistakes is slicing the bread while it is still steaming hot. While the aroma is tempting, the bread is actually still “cooking” internally as it cools. Slicing too early traps steam inside, leading to a gummy, compressed texture. Always wait at least 45 minutes before cutting into the loaf.
Pro Tip: To check for doneness without a thermometer, tap the bottom of the loaf. If it sounds hollow, it’s finished. If you use a thermometer, aim for an internal temperature of 190°F to 200°F.
Managing Raisin Distribution
To prevent raisins from clumping together or sinking to the bottom, ensure they are tossed with the dry flour mixture before adding the liquids. This light coating of flour helps the raisins “grip” the dough fibers during the rise and bake.
Serving and Pairing Suggestions
This bread is incredibly versatile, transitioning easily from a morning meal to a midday snack or a side for a savory dinner.
Breakfast Pairings
- The Classic Toast: Sliced thick, toasted, and slathered with salted butter.
- Cream Cheese Spread: Pair with whipped honey cream cheese for a decadent start to the day.
- French Toast: Because of its sturdy structure, day-old slices of this bread make the absolute best French toast.
Savory Combinations
It might sound unconventional, but the spice profile of this bread pairs beautifully with certain savory items. Try it as the base for a grilled cheese sandwich using sharp white cheddar or pepper jack cheese. The saltiness of the cheese creates a “salted caramel” effect when paired with the cinnamon and raisins.
Storage and Preservation Tips
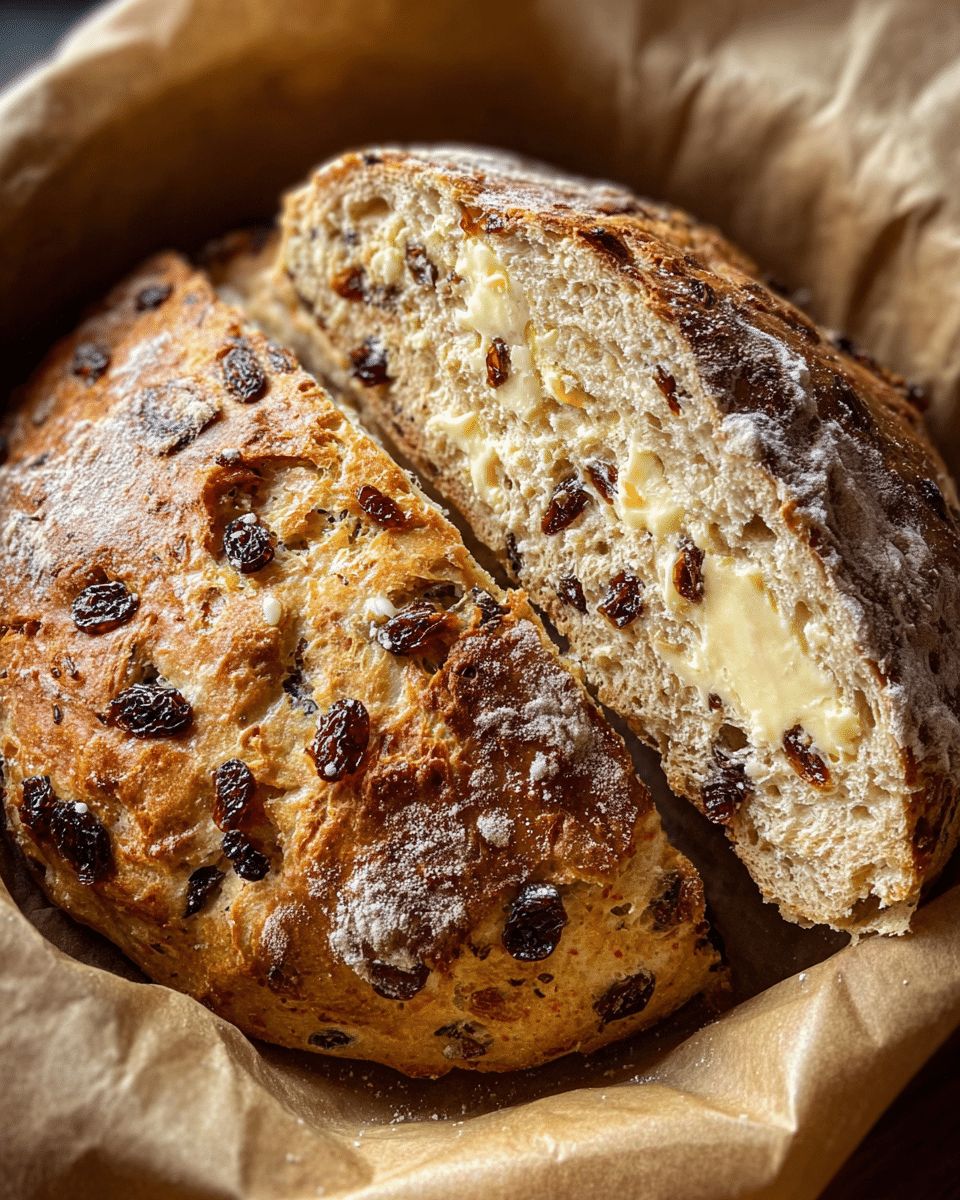
Because this is a homemade product without commercial preservatives, it will dry out faster than store-bought loaves. Proper storage is key to extending the life of your bake.
Short-Term Storage
Store the cooled loaf in an airtight container or a bread box at room temperature. It will stay fresh for about 2 to 3 days. Avoid refrigerating the bread, as the cold environment actually accelerates the staling process (retrogradation of starch).
Freezing for Later
If you won’t finish the loaf within a few days, freezing is the best option. For convenience, slice the bread before freezing. Place parchment paper between the slices so you can pull out exactly what you need and pop it directly into the toaster from the freezer.
| Storage Method | Duration | Best For |
|---|---|---|
| Bread Box | 2 Days | Daily use and snacking |
| Airtight Bag | 3 Days | Softness retention |
| Freezer (Sliced) | 3 Months | Long-term preservation |
You May Also Like
If you enjoyed mastering this artisanal loaf, explore more of our kitchen-tested favorites: Dutch Oven Recipes, Homemade Breakfast Ideas, Easy Quick Breads, and Professional Baking Tips.
To learn more about the history and variations of this classic bake, check out the entry on Raisin Bread on Wikipedia.
Frequently Asked Questions
Why did my cinnamon raisin bread not rise properly?
The most common reason for a poor rise is the temperature of your liquids. If the milk or water is too hot (above 120°F), it will kill the active dry yeast. Conversely, if it is too cold, the yeast will remain dormant. Additionally, ensure your salt is mixed with the flour before adding the yeast, as direct contact with salt can inhibit yeast activity.
Can I use bread flour instead of all-purpose flour?
Yes, you can substitute bread flour for all-purpose flour in this recipe. Because bread flour has a higher protein content, it will produce more gluten, resulting in a loaf with a chewier texture and a slightly taller rise. You may need to add an extra tablespoon of water, as bread flour tends to absorb more moisture.
How do I prevent the raisins on the crust from burning?
Since the Dutch oven uses high heat, raisins exposed on the surface can sometimes become bitter and charred. To prevent this, try to tuck any visible raisins just under the surface of the dough during the final shaping phase. If you notice them browning too quickly during the last few minutes of baking, loosely tent the top of the pot with a small piece of aluminum foil.
Final Thoughts
Baking Cinnamon Raisin Bread at home is a rewarding ritual that transforms humble pantry staples into a fragrant, golden masterpiece. By utilizing the steam-trapping power of a Dutch oven and the bright notes of lemon zest, you create a loaf that rivals any high-end bakery. It is a testament to the fact that with a little patience and the right technique, anyone can achieve bread-baking perfection.
Whether this is your first time working with yeast or you are a seasoned home baker, this recipe offers a reliable path to success. The combination of warm spices and sweet bursts of raisins makes every slice a comfort. We hope this loaf becomes a frequent guest at your breakfast table and fills your home with the unmatched aroma of fresh-baked goodness.