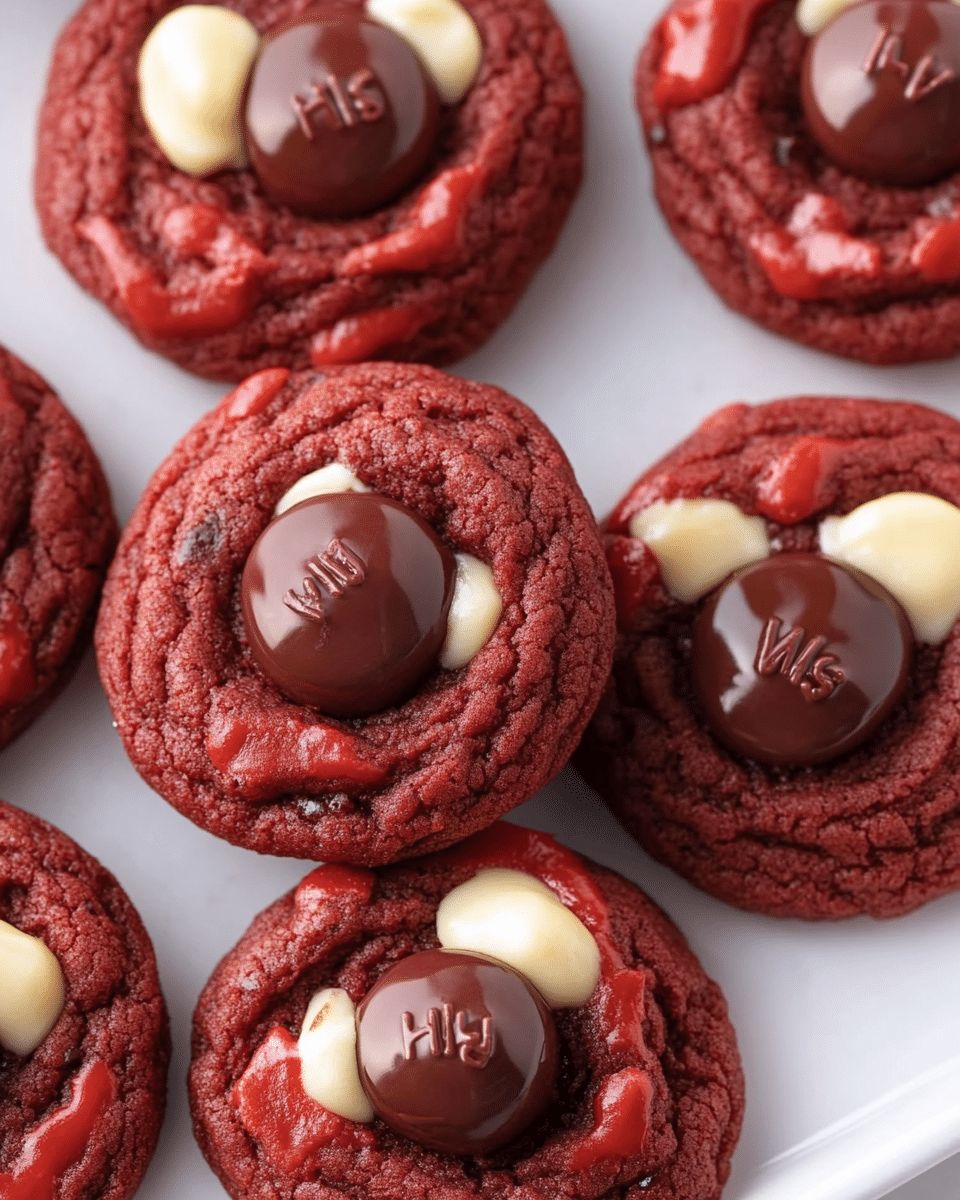
Baking doesn’t have to be a multi-hour ordeal to produce show-stopping results. When you combine the rich, cocoa-infused flavor of a classic red velvet cake with the creamy delight of Hershey’s Hugs, you create a treat that is as visually stunning as it is delicious. These Easy Red Velvet Cake Mix Cookies with Hugs are the ultimate “shortcut” for busy bakers who want a gourmet aesthetic without the gourmet effort.
Whether you are preparing a festive platter for the holidays, a sweet surprise for Valentine’s Day, or simply craving a chewy, chocolatey snack, this recipe delivers every time. By using a cake mix base, you ensure a perfectly soft texture and consistent flavor, allowing you to focus on the best part: the decadent, melted chocolate-caramel center that makes these cookies truly unforgettable.
Quick Answer: Red Velvet Cake Mix Cookies with Hugs are made by mixing red velvet cake mix, 2 eggs, and melted butter into a dough, baking for 7-9 minutes, and pressing a caramel-filled chocolate candy (like Hugs) into the center of each warm cookie. This 4-ingredient recipe is perfect for high-speed, high-reward festive baking.
The Secret Behind the Magic: Why Use Cake Mix for Cookies?
When you step into the world of high-efficiency baking, the cake mix cookie is your secret weapon. For these Easy Red Velvet Cake Mix Cookies with Hugs, the base provides a pre-measured, scientifically balanced ratio of flour, sugar, and leavening agents. This eliminates the guesswork often associated with from-scratch baking, such as over-measuring flour or using expired baking soda.
Unbeatable Convenience and Speed
In today’s fast-paced world, finding a window for elaborate dessert preparation is difficult. Using a red velvet cake mix cuts your preparation time by nearly 60%. You aren’t measuring individual dry ingredients or sifting cocoa powder; instead, you are jumping straight to the assembly. This makes it an ideal recipe for last-minute holiday parties, school bake sales, or sudden late-night cravings.
Flavor and Texture Consistency
One of the biggest challenges with red velvet recipes is achieving that specific balance of mild cocoa flavor and vibrant color without making the cookie too dry. Cake mixes are formulated to retain moisture. When converted into a cookie dough by reducing the liquid and increasing the fat (via eggs and butter), the result is a fudgy, brownie-like texture that remains soft for days.
Pro Insight: The acidity in the cake mix reacts perfectly with the added fat to create a “melt-in-your-mouth” quality that is difficult to replicate with standard all-purpose flour recipes.
Essential Ingredients for Red Velvet Bliss
To achieve world-class results, you only need four primary ingredients. However, the quality of these ingredients will dictate the final flavor profile of your festive treats. Below is a breakdown of what you need to gather before you preheat the oven.
| Ingredient | Quantity | Pro-Tip for Selection |
|---|---|---|
| Red Velvet Cake Mix | 1 Box (15.25 oz) | Choose a “Super Moist” or “Extra Moist” variety. |
| Large Eggs | 2 Eggs | Ensure they are at room temperature for better emulsification. |
| Unsalted Butter | 1 Stick (1/2 Cup) | Melted and slightly cooled to prevent scrambling the eggs. |
| Hershey’s Hugs | 20–30 Pieces | Look for the striped white and milk chocolate variety with caramel. |
Why Melted Butter Instead of Oil?
While many cake mix cookie recipes call for vegetable oil, we strictly recommend melted butter. Butter provides a richness and a “shortbread-adjacent” crumb that oil simply cannot match. It also helps the cookies develop a slight crispness on the very outer edges while keeping the center dense and decadent.
Step-by-Step Instructions: Mastering the Technique
The process of creating these cookies is simple, but the timing and temperature control are critical to ensuring the Hershey’s Hugs don’t melt into a puddle or fall off the cookie. Follow these refined steps for the best results.
- The Primary Mix: In a large glass bowl, combine the cake mix, two eggs, and the melted butter. Use a heavy silicone spatula to fold the ingredients together. The dough will be thick, sticky, and deeply crimson. Do not overwork the dough; stop as soon as the last streak of dry mix disappears.
- The Initial Chill: Place the entire bowl in the refrigerator for 15 minutes. This makes the dough less tacky and much easier to handle when rolling.
- Forming the Rounds: Scoop approximately one tablespoon of dough and roll it between your palms to create a smooth, 1-inch ball. Consistency in size is key for even baking.
- The Secondary Chill: Once the balls are placed on your chilled cookie sheet, return them to the fridge for another 20 minutes. This is a critical SEO-standard baking tip: chilling the formed balls prevents “spreading,” ensuring your cookies stay thick and pillowy rather than flat and thin.
- The Bake: Preheat your oven to 350°F (175°C). Slide the cookies in and bake for exactly 7 to 9 minutes. They should look slightly underdone in the center—this is the secret to a soft cookie!
- The “Hug” Placement: Take the cookies out. Let them sit for 2 minutes. While they are still warm but the structure has begun to set, gently press a Hershey’s Hug into the center. The residual heat will soften the bottom of the candy, “locking” it into place without melting the beautiful stripes on top.
Pro Tips for Bakery-Quality Results
Even with a simple recipe, the details distinguish a hobbyist baker from an expert. Here are the stylist-approved tips to ensure your cookies look like they came from a high-end boutique.
Temperature Management
Never place your dough balls on a warm cookie sheet. If you are baking in batches, run your baking sheet under cold water and dry it completely between rounds. A warm pan will start melting the butter in the dough before it hits the oven, causing the cookies to lose their shape.
Uniformity and Presentation
- Use a Scoop: A small ice cream or cookie scoop ensures every cookie is the exact same weight, which leads to identical baking times.
- The “Swoosh” Technique: If your cookies come out slightly irregular in shape, place a circular glass or cookie cutter over the hot cookie and gently swirl it in a circular motion to “scoot” the edges into a perfect circle.
- Unwrap Early: Have your chocolate Hugs unwrapped and ready in a bowl before the cookies come out of the oven. You only have a small 2-minute window to press them in perfectly.
Critical Tip: If your kitchen is very warm, keep the unwrapped chocolates in the refrigerator until the moment you need them. This ensures the striped pattern remains crisp and defined even when pressed into a warm cookie.
Creative Variations and Customizations
While the red velvet and caramel-chocolate combination is a classic, this recipe is a versatile canvas for your creativity. You can adapt these festive delights for any season or preference.
Alternative “Centers”
If you cannot find Hershey’s Hugs, or simply want to experiment, try these alternatives:
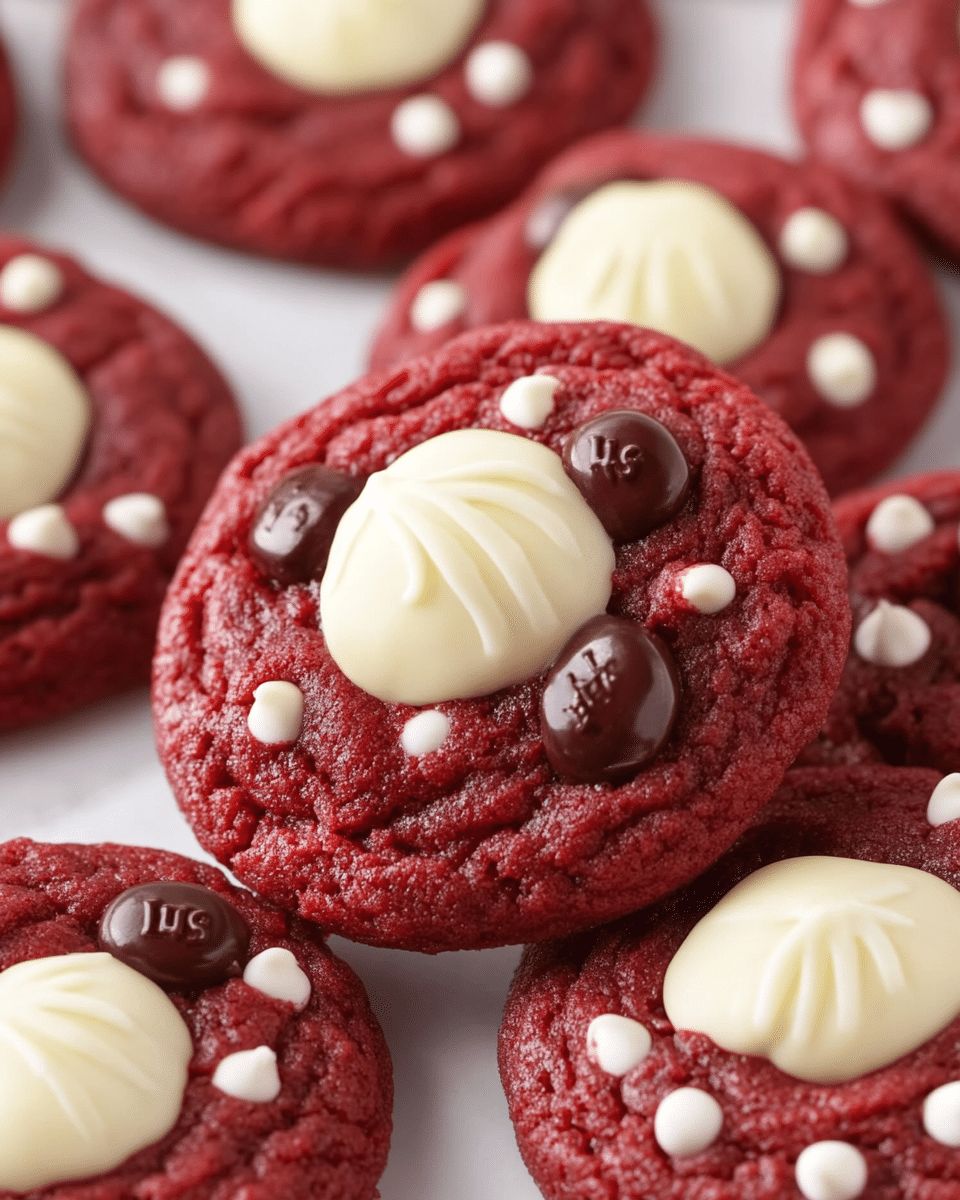
- White Chocolate Discs: For a high-contrast, clean look.
- Peppermint Kisses: Perfect for a “Red Velvet Candy Cane” flavor during the December holidays.
- Dark Chocolate Sea Salt: To cut through the sweetness of the cake mix.
- Cream Cheese Frosting: Skip the candy and pipe a small dollop of cream cheese frosting in the center once cooled.
Dough Mix-ins
To add more texture to the cookie itself, consider folding in 1/2 cup of white chocolate chips or toasted pecan pieces before chilling the dough. This adds a “crunch” factor that complements the soft center of the chocolate candy.
Storage and Gifting Strategy
Because these cookies are so visually appealing, they are high-performers for gifting. However, you must store them correctly to maintain the integrity of the melt-in-the-center chocolate.
Room Temperature Storage
Store the cooled cookies in a single layer in an airtight container. If you must stack them, place a sheet of parchment paper between the layers to prevent the chocolate Hugs from sticking to the bottoms of the cookies above them. They will stay fresh for up to 5 days.
Freezing for Future Use
You can freeze the baked cookies for up to 3 months. To serve, thaw them at room temperature for about an hour. Do not microwave them to thaw, as this will cause the chocolate candy in the center to bloom (turn white) or melt completely.
| Method | Duration | Best For |
|---|---|---|
| Countertop (Airtight) | 4–5 Days | Daily Snacking |
| Refrigerator | 1 Week | Warm Climates |
| Freezer | 3 Months | Meal Prep / Holiday Planning |
You May Also Like
If you enjoyed these festive red velvet treats, you might also be interested in exploring more of our comfort food favorites and baking secrets: Red Velvet Dessert Ideas, Holiday Cookie Collections, Easy Baking Tips, and Genius Cake Mix Hacks.
To learn more about the fascinating culinary history and the unique chemical reactions that give these treats their signature crimson color, visit the official page for Red Velvet Cake on Wikipedia.
Frequently Asked Questions
Can I use a different flavor of cake mix for this recipe?
Absolutely! The beauty of this 4-ingredient cookie base is its incredible versatility. You can easily substitute the red velvet mix with chocolate, strawberry, or even lemon cake mix. Just ensure the box size is approximately 15.25 oz to maintain the correct moisture balance with the eggs and melted butter.
What is the secret to keeping the Hershey’s Hugs from melting completely?
The key is precision timing and temperature control. Never press the candies into the cookies while they are still in the oven. Wait approximately two minutes after removing the baking sheet from the heat. This allows the cookie to firm up enough to support the candy while providing just enough residual heat to “glue” the bottom of the chocolate without collapsing the beautiful striped pattern.
Can I make the dough ahead of time and bake it later?
Yes, this dough is perfect for make-ahead baking. You can prepare the dough and keep it in the refrigerator for up to 48 hours before rolling it into balls. In fact, an extended chill time can often deepen the cocoa flavor and result in an even chewier texture. If the dough becomes too hard to scoop, let it sit at room temperature for 10 minutes before forming your cookies.
Final Thoughts
These Easy Red Velvet Cake Mix Cookies with Hugs prove that you don’t need a complicated list of ingredients to create a world-class dessert. Their striking color and decadent chocolate-caramel centers make them a guaranteed hit for holiday platters, bake sales, or a simple weekend indulgence. By following the professional chilling techniques and the specific “Hug” placement timing, you can achieve bakery-quality results with minimal effort.
Baking is about creating joy and sharing it with others. We hope this guide helps you bring a little extra sweetness to your next gathering. Don’t forget to save this recipe and share your successful cookie creations with your loved ones!