There is nothing quite like the aroma of freshly baked bread, but homemade garlic herb naan takes that sensory experience to a whole new level. Imagine a pillowy, soft center surrounded by a slightly charred, crispy exterior, all brushed with a decadent infusion of melted butter, toasted garlic, and fresh green herbs. While many people settle for store-bought versions, they often miss out on the incredible “stretch and fluff” that only comes from a warm skillet in your own kitchen.
Mastering this restaurant-style staple is surprisingly simple, even for those who feel intimidated by dough. By using a few pantry staples like Greek yogurt and yeast, you can achieve that signature airy texture that pairs perfectly with a spicy curry, a hearty stew, or even a simple dip. This guide will show you how to recreate the ultimate comfort food that is guaranteed to impress your dinner guests and elevate your home-cooked meals.
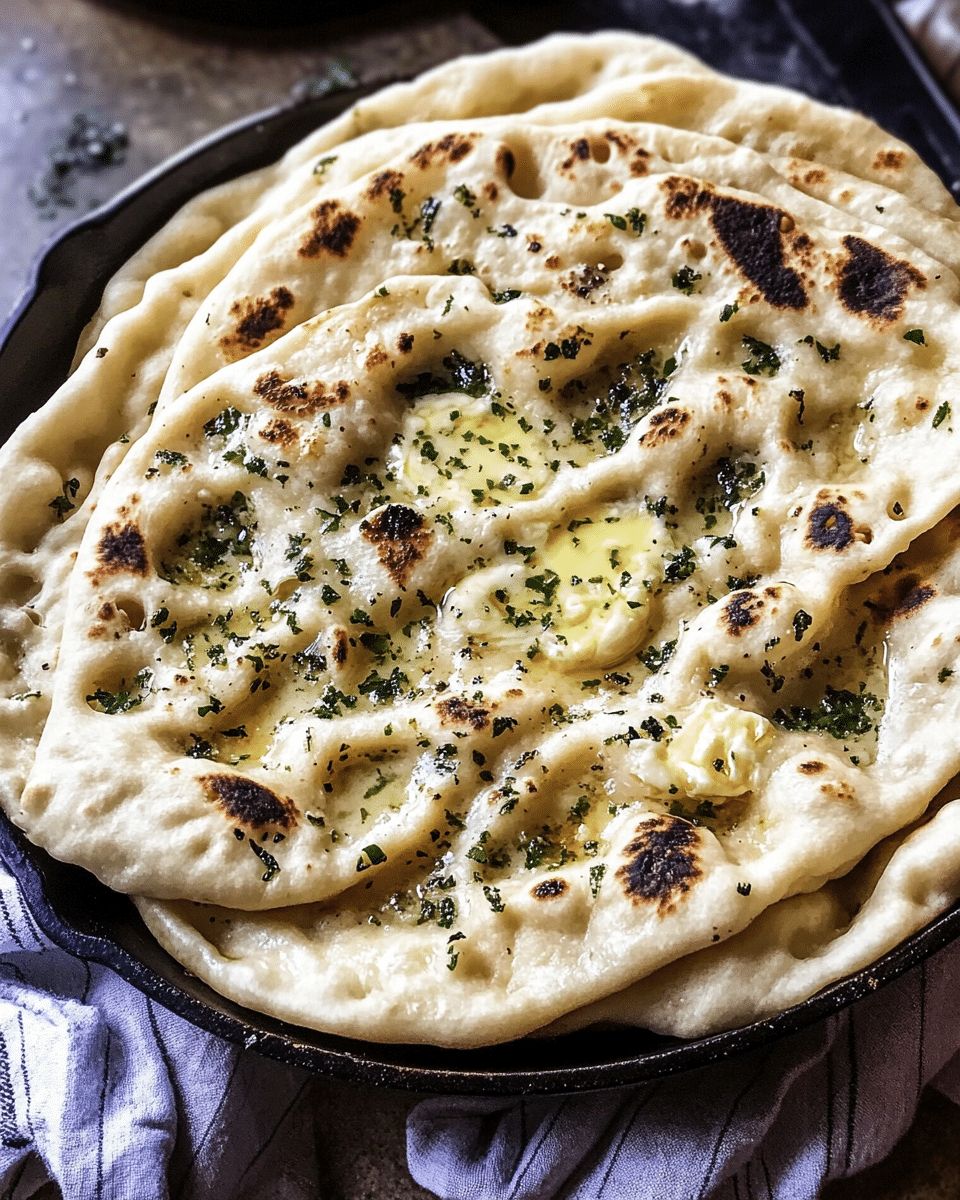
Quick Answer: To make the perfect fluffy homemade naan, combine flour, yeast, warm milk, and Greek yogurt to create a soft dough. Let it rise for one hour, roll into ovals, and sear in a hot cast-iron skillet for 1-2 minutes per side. Finish by brushing with a mixture of melted butter, grated garlic, and fresh herbs for an authentic, gourmet flavor.
Why This Garlic Herb Naan is the Best You’ll Ever Make
What sets this specific recipe apart is the balance of fats and leavening agents. The Greek yogurt provides a slight tang and essential moisture, ensuring the bread remains soft even after it cools. Meanwhile, the high heat of a skillet creates those iconic charred bubbles that provide a smoky depth of flavor you just can’t get from a standard oven.
The Secret to Restaurant-Quality Naan at Home
If you have ever wondered why restaurant naan feels so much better than the pre-packaged versions found in grocery stores, the answer lies in the freshness of the dough and the intense heat used during the cooking process. Traditional Indian naan is baked in a tandoor—a cylindrical clay oven that reaches temperatures over 900°F. While most of us don’t have a tandoor in our backyard, we can achieve nearly identical results using a heavy cast-iron skillet.
Creating Fluffy Homemade Garlic Herb Naan is a culinary skill that combines the science of fermentation with the art of stovetop searing. The goal is to create a dough that is elastic enough to stretch thin but resilient enough to puff up into airy pockets when it hits the heat. When you bite into it, you should experience a symphony of textures: the crunch of the charred exterior followed by the pillowy, cloud-like center.

Essential Ingredients for Success
To get that signature “pull-apart” texture, we use a specific combination of ingredients. Each component serves a vital purpose in the structural integrity and flavor profile of the bread. Below is the master list of everything you will need to prepare this dish.
The Pantry Staples
- All-Purpose Flour: Provides the necessary gluten structure. You can use bread flour for a chewier result.
- Active Dry Yeast: The leavening agent responsible for those beautiful air bubbles.
- Honey: Not just for sweetness, but to “feed” the yeast and help it activate quickly.
- Baking Powder and Soda: These act as a secondary lift, ensuring the naan stays fluffy even if your yeast is a bit older.
The Secret Moisture Components
- Warm Whole Milk: The fats in whole milk soften the crumb of the bread.
- Full-Fat Plain Greek Yogurt: This is the “magic” ingredient. The acidity in the yogurt reacts with the leavening agents and breaks down gluten slightly for a tender, melt-in-your-mouth finish.
Flavor and Finish
- Salted Butter: Used both in the dough and as a final glaze.
- Fresh Garlic: Grated finely so it melts into the butter without leaving large, raw chunks.
- Fresh Herbs: A mix of parsley, cilantro, and chives provides a vibrant, earthy balance to the rich butter.
Recipe Ingredient Breakdown
| Category | Ingredient | Quantity |
|---|---|---|
| Base | All-Purpose Flour | 4 Cups |
| Leavening | Active Dry Yeast | 3/4 Teaspoon |
| Liquid | Warm Whole Milk | 3/4 Cup |
| Tenderizer | Greek Yogurt (Full-Fat) | 1 Cup |
| Fat | Salted Butter | 8 Tablespoons |
| Aromatics | Grated Garlic | 2-4 Cloves |
Mastering the Dough: A Step-by-Step Guide
The process of making naan is divided into three critical phases: Activation, Proofing, and Searing. Following these steps precisely ensures that your bread doesn’t turn out like a dense cracker.
Step 1: Activating the Yeast
Start by combining 1/4 cup of warm water (around 105-110°F) with a tablespoon of honey and the yeast. Stir gently and wait about 5 to 10 minutes. You are looking for a frothy, foamy head to form on top of the water. If the water remains clear, your yeast might be expired, and the naan won’t rise.
Step 2: Mixing and Kneading
Once the yeast is bubbly, add your milk, yogurt, and dry ingredients. If using a stand mixer, use the dough hook attachment. Mix on low for 2-4 minutes. The dough should be slightly tacky to the touch. If it is sticking to the sides of the bowl excessively, add flour one tablespoon at a time until it pulls away but remains soft.
Step 3: The First Rise (Proofing)
Lightly grease a bowl and place your dough ball inside. Cover it with plastic wrap or a damp kitchen towel. Place it in a warm, draft-free spot. After about an hour, the dough should have doubled in size. This fermentation process is where the deep, yeasty flavor develops.
Pro Tip: For the absolute best flavor, let the dough rise in the refrigerator overnight. Cold fermentation allows the starches to break down into sugars more slowly, resulting in a more complex, artisanal taste.
Shaping and Searing for the Perfect Char
Once the dough is ready, punch it down to release the excess air. Divide the mass into 8 equal portions—roughly the size of a large lemon. Roll them into smooth balls before flattening them into ovals with a rolling pin.
The Importance of Skillet Heat
A cast-iron skillet is your best friend here. Heat it over medium-high until a drop of water flicked onto the surface dances and evaporates instantly. Do not skimp on the heat; without it, the naan will bake slowly and become tough rather than puffing up instantly.
- Oil the Pan: Use a paper towel to apply a very thin layer of olive oil to the hot skillet.
- The First Side: Lay the dough oval in the pan and cover with a lid. The lid traps steam, which helps the naan puff up quickly.
- The Bubble Watch: After 60 seconds, remove the lid. You should see large bubbles across the surface.
- The Flip: Flip the naan. Press down slightly with a spatula to ensure the “bubbles” get that beautiful dark brown char. Cook for another 1-2 minutes.
The Garlic Herb Butter Glaze
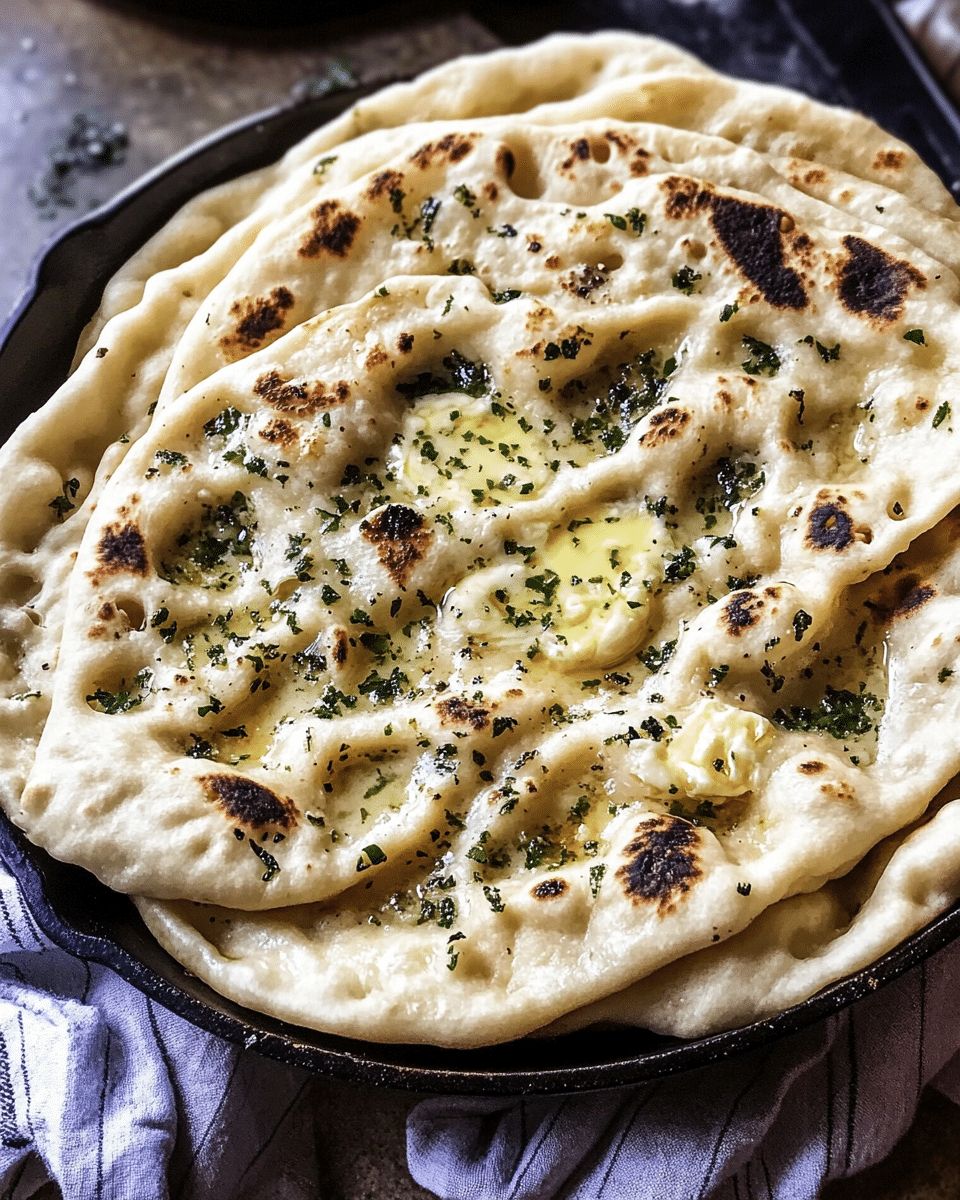
The final touch is what transforms a plain flatbread into Gourmet Garlic Herb Naan. While the naan is still steaming hot, you want to apply the butter glaze so it soaks into the pores of the bread.
Preparing the Glaze
- Melt the remaining 4 tablespoons of butter in a small saucepan.
- Add the grated garlic and cook for just 60 seconds. You want to remove the raw “bite” of the garlic without burning it.
- Off the heat, stir in 3/4 cup of your chopped herbs. The residual heat will release the oils in the herbs without wilting them into mush.
Brush each piece of naan generously. As you stack them, the heat from the bottom pieces will continue to soften the ones on top, creating a stack of irresistible comfort food.
Customizing Your Homemade Naan
While garlic and herbs are the gold standard, this dough is a versatile canvas. You can easily adapt this recipe to suit your dietary needs or flavor preferences.
| Variation | Adjustment |
|---|---|
| Cheesy Naan | Stuff the dough with shredded mozzarella before rolling it out. |
| Spicy Naan | Add red chili flakes or finely minced serrano peppers to the butter. |
| Vegan Naan | Swap whole milk for oat milk and use coconut yogurt and vegan butter. |
| Whole Wheat | Replace 50% of the all-purpose flour with whole wheat flour for more fiber. |
Whether you are serving this alongside a creamy butter chicken or using it as a base for a quick Mediterranean flatbread pizza, this Fluffy Homemade Garlic Herb Naan is a recipe you will return to time and time again. The satisfaction of pulling a warm, bubbly piece of bread out of your own skillet is a kitchen win that never gets old.
You May Also Like
If you enjoyed this recipe, you might find these other comfort food classics and kitchen guides helpful: Cajun Shrimp Pasta, Cheesy Chicken Casseroles, Classic Meatloaf, and Mixed Grill Platters.
Learn more about the history and cultural significance of this flatbread: Wikipedia – Naan
Frequently Asked Questions
Can I make this naan dough ahead of time?
Yes! You can prepare the dough and let it rise in the refrigerator overnight. This slow fermentation actually improves the flavor and makes the dough even easier to work with when you are ready to roll it out and cook.
What is the best way to reheat leftover naan?
To keep it from getting tough, avoid the microwave. Instead, wrap the naan in aluminum foil and warm it in a 350°F (175°C) oven for about 5-10 minutes, or quickly sear it in a hot dry skillet for 30 seconds per side to restore its crispness.
Do I really need a cast-iron skillet?
While a standard non-stick pan will work, a cast-iron skillet is highly recommended. It retains heat much better and distributes it evenly, which is essential for creating those beautiful dark “char spots” that give naan its authentic restaurant-style look and taste.
Final Thoughts
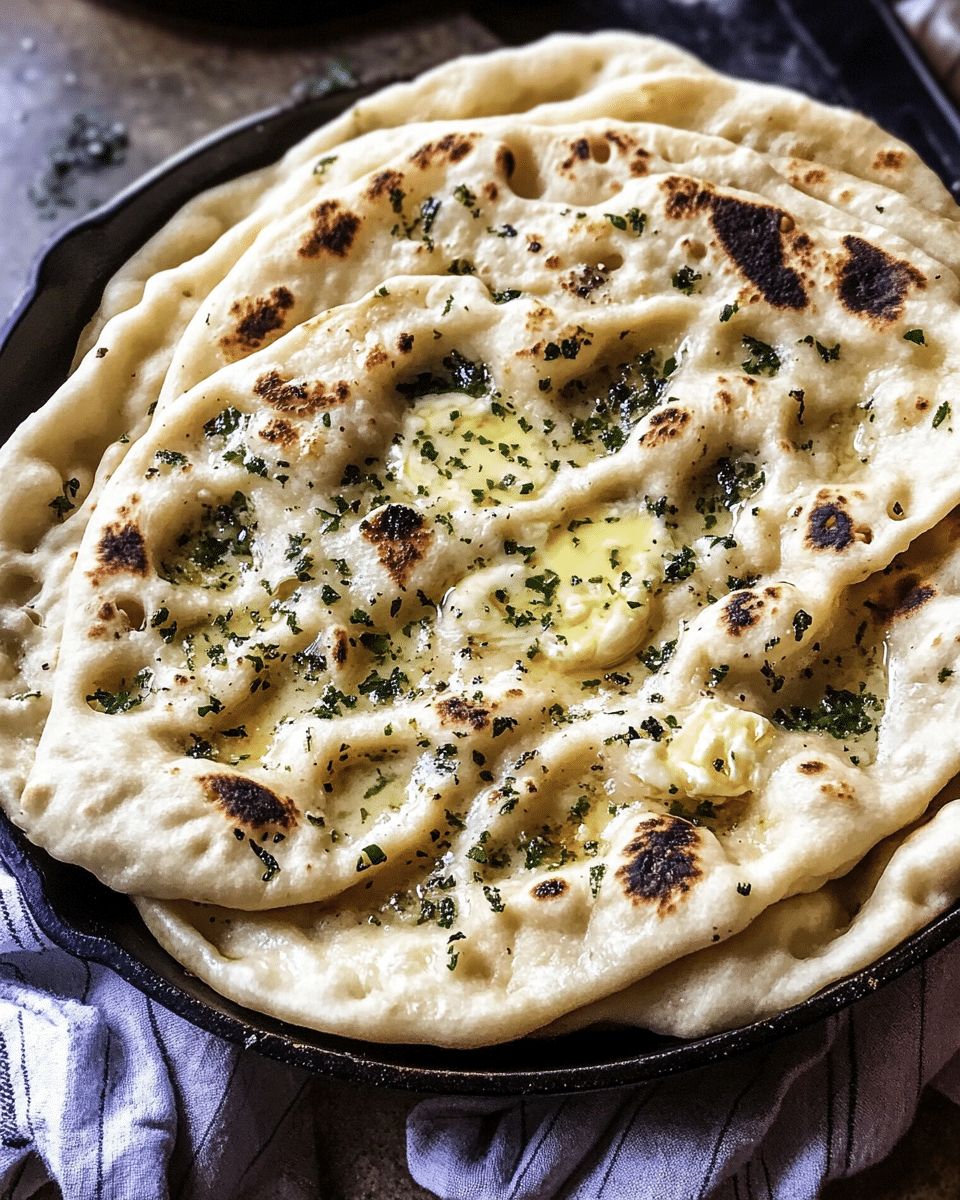
Mastering the art of Fluffy Homemade Garlic Herb Naan is a rewarding experience that transforms any standard dinner into a gourmet feast. The combination of simple pantry staples and the high heat of your stove creates a result that far surpasses anything you can find in a store. Whether you are dipping it into a rich sauce or enjoying it warm with extra garlic butter, this recipe is sure to become a staple in your kitchen.
Thank you for following along with this guide at CookWithFeast.com. We hope this pillowy flatbread brings a touch of warmth and comfort to your table. Don’t forget to experiment with different herb blends and share your cooking success with your friends and family!