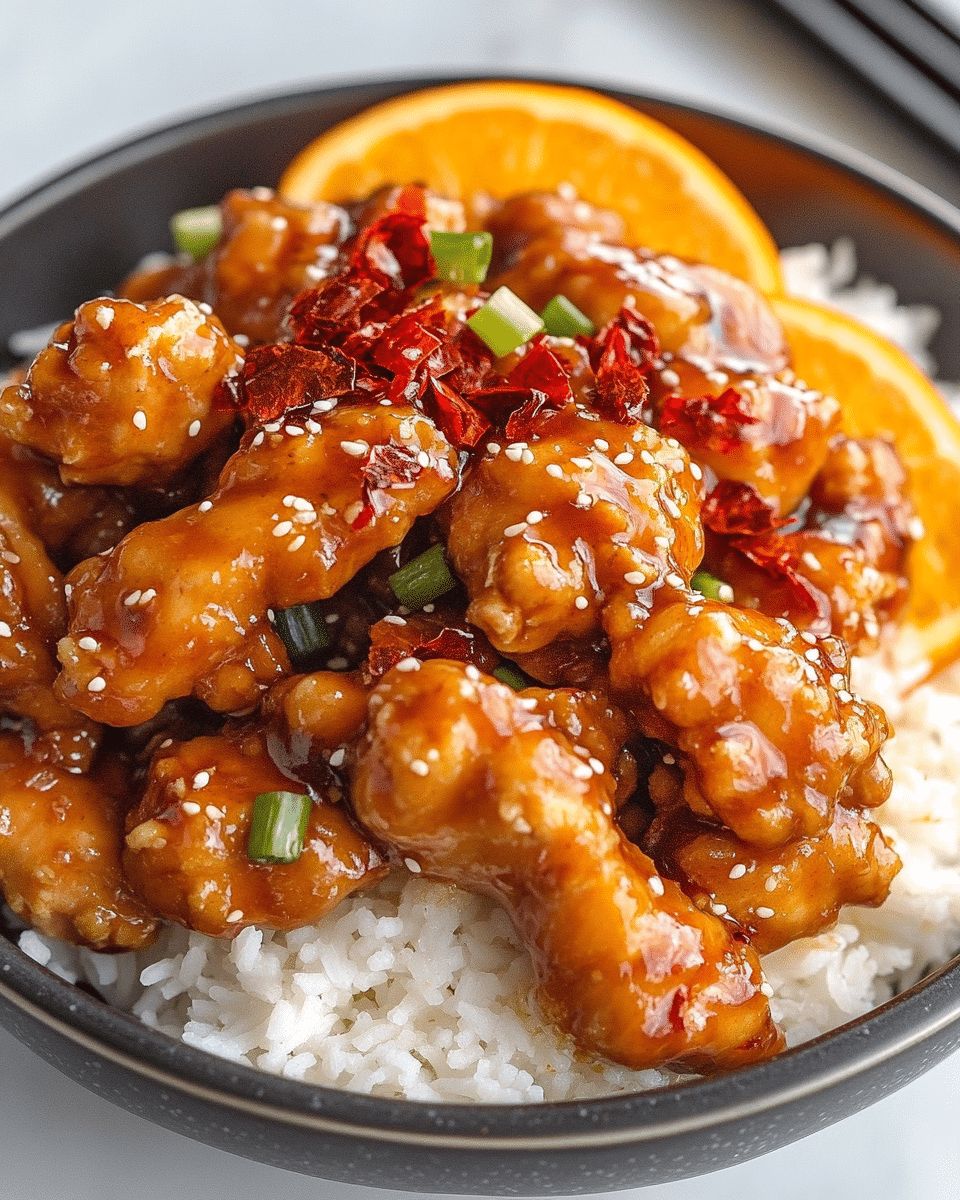
There is something undeniably comforting about a plate of perfectly golden chicken tossed in a vibrant, glossy citrus glaze. It is the kind of dish that hits every taste bud at once—sweet, tangy, savory, and just the right amount of spicy. Whether it reminds you of your favorite Friday night takeout or a lively family dinner, Crispy Orange Chicken has earned its reputation as a legendary comfort food staple.
The good news? You don’t have to wait for a delivery driver to enjoy it. By making this classic in your own kitchen, you can achieve a level of crunch and freshness that restaurant versions often lose during transit. Using simple pantry staples and fresh oranges, you can recreate that iconic, addictive flavor profile while ensuring every bite stays shatteringly crisp and tender on the inside.
Quick Answer: To make the best Crispy Orange Chicken, double-dredge chicken pieces in a cornstarch and flour blend, fry until golden at 375°F, and toss in a thickened reduction of fresh orange juice, soy sauce, brown sugar, and chili flakes. For maximum crunch, drain the chicken on a wire rack rather than paper towels.
What Exactly Is Crispy Orange Chicken?
If you have ever perused the menu of a Chinese-American restaurant, you have likely encountered Crispy Orange Chicken. It is typically served as deep-fried chunks of chicken breast or thigh, smothered in a thick, vibrant sauce that glows with a deep amber hue. While many associate it with fast-casual mall culture, the dish actually has a fascinating history rooted in regional Chinese flavors.
This beloved classic is a fusion of Hunan and Sichuan culinary traditions, adapted specifically for Western palates. Traditional orange-flavored chicken in China is often more subtle, utilizing dried citrus peels and a lighter touch. However, the American version doubles down on the “sticky” factor, resulting in a sauce that is bold, citrus-forward, and irresistibly sweet. The magic of this homemade recipe lies in the contrast: a shatteringly crisp exterior that yields to juicy, tender meat, all held together by a zesty glaze.
The Architecture of the Perfect Crunch
Achieving the right texture isn’t an accident. To get that restaurant-quality finish at home, we use a specific combination of ingredients and techniques:
- The Flour-Cornstarch Blend: Using only flour results in a bread-like coating. Adding cornstarch ensures the exterior remains crisp even after being tossed in liquid sauce.
- The Egg Binder: Whisking oil into the eggs creates a smoother emulsion that helps the dry coating adhere perfectly without flaking off in the fryer.
- Temperature Control: Frying at exactly 375°F (190°C) seals the coating instantly, preventing the chicken from becoming greasy.

Why You Should Skip the Delivery and Cook at Home
We’ve all been there: you order takeout, and by the time it reaches your door, the “crispy” chicken has turned into a soggy, lukewarm disappointment. When you take the reins in your own kitchen, you reclaim the quality of your meal. Cooking at home offers several distinct advantages that no restaurant can match:
- Total Ingredient Transparency: You control the quality of the oil and the freshness of the chicken. No hidden preservatives or excessive sodium.
- Customized Flavor Profiles: Prefer it extra spicy? Double the chili flakes. Watching your sugar intake? You can easily adjust the brown sugar levels to suit your diet.
- Peak Freshness: The chicken goes from the fryer to the sauce to your plate in seconds, ensuring you experience the maximum possible crunch.
- Cost Efficiency: For the price of one restaurant entrée, you can feed a family of four with high-quality ingredients.
Pro Tip: For the absolute best results, use chicken thighs. They have a higher fat content than breasts, which means they stay incredibly juicy and are much more forgiving during the high-heat frying process.
Recipe Overview and Prep Specs
Before you start heating up the oil, it is helpful to see the “tale of the tape.” Use this table to plan your evening and ensure you have enough time for the best results.
| Category | Details |
|---|---|
| Prep Time | 20 Minutes |
| Cook Time | 30 Minutes |
| Total Time | 50 Minutes |
| Servings | 4 People |
| Difficulty | Intermediate |
| Calories per Serving | ~650 kcal |
The Ultimate Ingredient List
The secret to a smooth cooking experience is mise en place—having everything measured and ready before the heat is on. This recipe is divided into three essential components: the chicken, the signature sauce, and the stir-fry aromatics.
1. For the Chicken Base
- Chicken: 2 lbs of boneless, skinless breasts or thighs (cut into 1-inch cubes).
- Dry Coating: 1 cup cornstarch and ½ cup all-purpose flour.
- Wet Binder: 2 large eggs whisked with 2 tablespoons of neutral oil.
- Seasoning: 1 teaspoon salt and ½ teaspoon white pepper (white pepper provides a subtle, authentic heat).
- Frying Medium: High-smoke-point oil (Canola, Vegetable, or Peanut).
2. The Zesty Orange Glaze
- Liquid Base: 1 cup fresh orange juice and the zest of 1 large orange.
- Umami & Tang: 3 tablespoons soy sauce and 4 tablespoons rice wine vinegar.
- Sweetness: ½ cup packed brown sugar.
- Thickener: 1 tablespoon cornstarch (to be whisked in cold).
- Aromatics: 2 teaspoons toasted sesame oil and 1 tablespoon sliced green onions.
3. Stir-Fry Aromatics & Spice
- The Heat: ½ cup dried whole red chili peppers and 6 teaspoons red pepper flakes (adjust to your preference).
- The Aromatics: 2 cloves of minced garlic and 1 tablespoon of freshly grated ginger (optional but highly recommended).
Step-by-Step Cooking Instructions
Follow these steps closely to ensure your chicken stays crispy and your sauce reaches that perfect, lip-smacking consistency.
Phase 1: Preparing the Sauce
In a medium mixing bowl, whisk together all the orange sauce ingredients. It is vital to whisk the cornstarch thoroughly while the liquid is cold to prevent lumps. Once combined, set it aside. This allows the flavors to meld while you focus on the chicken.
Phase 2: Breading and Frying
Combine your flour, cornstarch, salt, and pepper in one bowl, and your egg-oil mixture in another. Working in small batches, dip the chicken into the egg, then dredge in the flour mixture. Ensure every nook and cranny is coated. This “double-layer” approach is what creates those craggy, crispy bits that hold onto the sauce so well.
Heat your oil in a heavy skillet or wok. Carefully drop the chicken pieces in, making sure not to crowd the pan. Crowding lowers the oil temperature, leading to soggy chicken. Fry for about 3 minutes per batch until golden brown and internal temperature reaches 165°F. Crucial Step: Transfer cooked chicken to a wire rack. Placing it on paper towels traps steam underneath, which will soften the crust you just worked so hard to create.
Phase 3: Bringing It All Together
Wipe out your wok or use a clean one. Heat 2 tablespoons of oil and toss in your dried chilies and pepper flakes. Stir for 15 seconds until they become fragrant and slightly darken. Add your garlic and ginger, followed by the sesame oil. Cook for another 15 seconds—be careful not to burn the garlic!
Pour in your prepared orange sauce. Stir constantly as it comes to a boil. You will see it transform from a thin liquid into a thick, translucent glaze. Once it reaches the desired consistency, kill the heat, toss in the fried chicken, and stir quickly to coat. Serve immediately over a bed of fluffy jasmine rice.

Pro Tips for Restaurant-Quality Success
Even seasoned home cooks can benefit from these small adjustments that yield big results:
- The Double Fry: If you want “God-tier” crunch, fry the chicken once at 350°F for 2 minutes, let it rest, then fry it again at 400°F for 45 seconds right before saucing. This creates a glass-like exterior.
- Zest Matters: Don’t skip the orange zest! While the juice provides sweetness and volume, the zest contains the essential oils that provide that punchy, aromatic citrus flavor.
- Acid Balance: If your sauce feels too sweet, add an extra teaspoon of rice wine vinegar. If it’s too tart, a tiny pinch of salt can help balance the acidity.
Troubleshooting Sauce Consistency
Sometimes the sauce doesn’t behave. Here is how to fix it fast:
| Problem | The Quick Fix |
|---|---|
| Sauce is too thin | Simmer for 2 extra minutes or add a cornstarch slurry (1 tsp starch + 1 tsp water). |
| Sauce is too thick | Whisk in 1-2 tablespoons of orange juice or warm water. |
| Sauce is lumpy | Strain the sauce through a fine-mesh sieve before adding the chicken. |
Whether you are looking to impress your family or simply satisfy a craving, this Crispy Orange Chicken recipe is a guaranteed winner. It’s a testament to the fact that with the right technique and fresh ingredients, the homemade version isn’t just a substitute for takeout—it’s the superior choice.
You May Also Like
If you enjoyed this recipe, explore more of our kitchen favorites: General Tso’s Chicken, Easy Vegetable Fried Rice, Crispy Homemade Egg Rolls, and Healthy Broccoli Stir Fry.
For more on the history and cultural origins of this dish, visit: Wikipedia
Frequently Asked Questions
How do I keep the chicken crispy after it is coated in sauce?
The secret is using a cornstarch-heavy coating and ensuring the sauce is properly thickened before adding the chicken. Toss the chicken quickly just before serving to ensure the glaze coats the exterior without soaking into the crust and making it soggy.
Can I make this Orange Chicken recipe in an Air Fryer?
Yes! To air fry, spray the breaded chicken pieces generously with oil and cook at 400°F (200°C) for 12-15 minutes, shaking the basket halfway through. While it won’t be quite as indulgent as deep-frying, it is a fantastic healthy alternative that still delivers a great crunch.
How long can I store leftovers, and what is the best way to reheat them?
You can store leftovers in an airtight container in the refrigerator for up to 3 days. To maintain the texture, avoid the microwave; instead, reheat the chicken in an oven or air fryer at 375°F until heated through and the exterior crisps back up.
Final Thoughts
This Crispy Orange Chicken is more than just a meal; it is a testament to how simple ingredients like fresh citrus and ginger can transform humble chicken into a gourmet experience. By mastering the balance of sweet, savory, and spicy at home, you elevate your dinner rotation while enjoying a fresher, healthier version of a classic favorite.
Whether you are cooking for a busy weeknight or hosting a themed dinner party, this recipe is guaranteed to impress. Don’t forget to garnish with plenty of fresh green onions and sesame seeds for that final professional touch. Happy cooking!