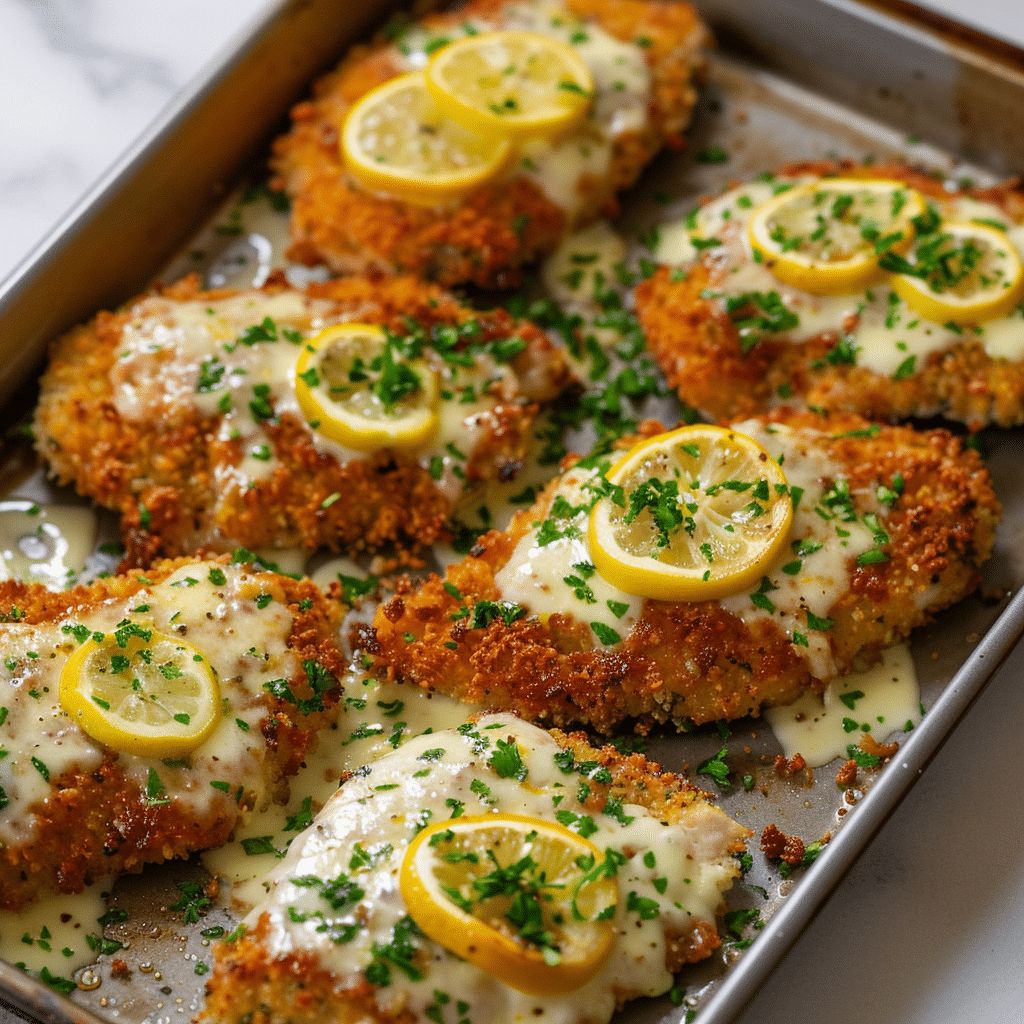
Elevate Your Dinner with Crispy Lemon Chicken Romano
There’s something truly magical about a dinner that feels indulgent yet homey, where the aroma alone makes your kitchen the coziest place in your home. Imagine biting into tender, golden chicken, covered with a crispy, flavorful crust, melted cheeses blending into a creamy finish, and a refreshing hint of lemon that dances across your palate. That’s exactly what you get with Lemon Chicken Romano, a recipe that combines comforting textures with a bright, sophisticated flavor.
This dish isn’t just about flavor—it’s about creating an experience. Whether you’re cooking for your family, entertaining friends, or just treating yourself after a long day, this recipe turns ordinary chicken into something memorable. By the time you’re done, you’ll have a meal that looks as stunning as it tastes, and the satisfaction of knowing you made it from scratch.
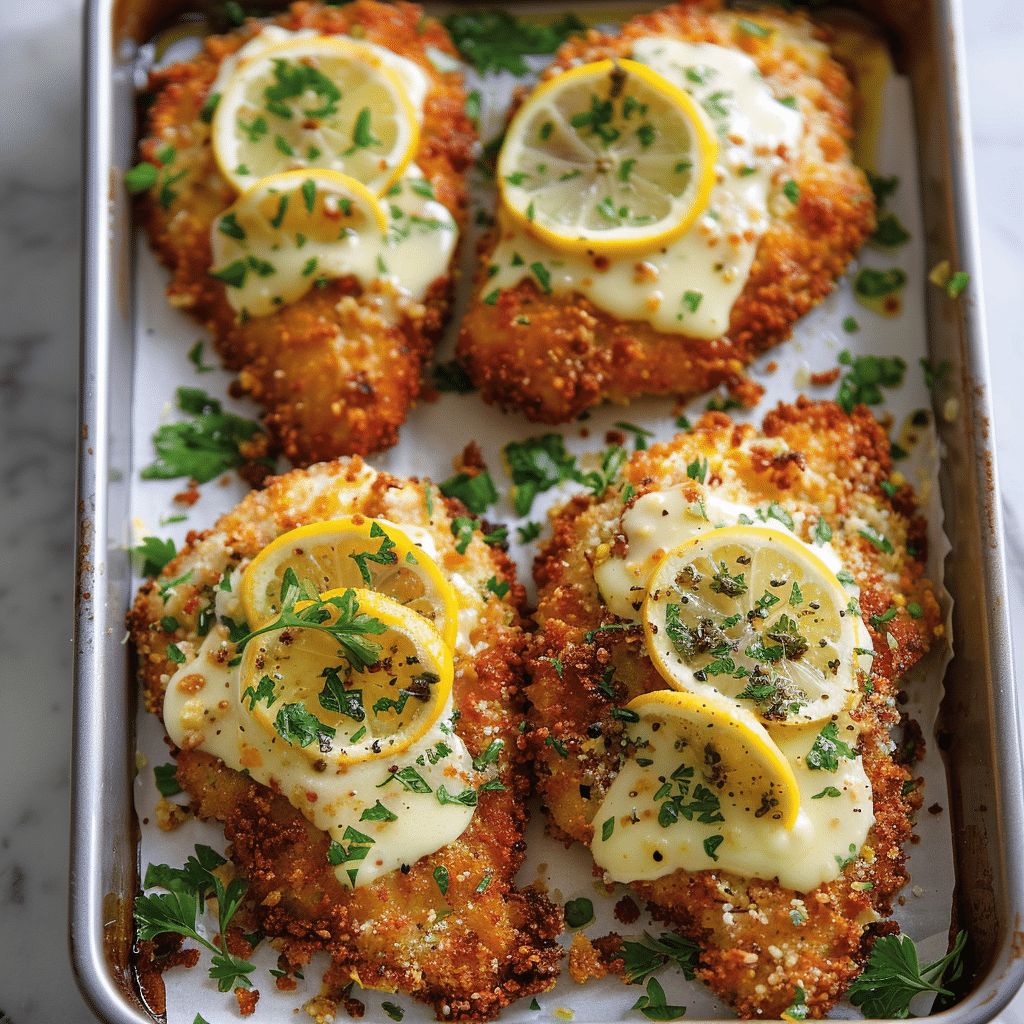
Quick Answer: Lemon Chicken Romano is a 35-minute restaurant-quality meal consisting of chicken cutlets dredged in a Panko-Romano crust, pan-fried until golden, and finished in the oven with melted mozzarella and provolone. It is characterized by its perfect balance of crunchy texture and zesty citrus notes.
Ready to bring these bold flavors to your table? Let’s dive into why this recipe is a guaranteed crowd-pleaser and what you’ll need to get started.
Why You’ll Fall in Love with This Lemon Chicken Romano
Before you even step into the kitchen, it is essential to understand why Lemon Chicken Romano has become a staple in high-end bistros and home kitchens alike. This dish strikes a rare balance between sophisticated gourmet flavors and the comforting, soul-warming nature of home-style fried chicken. It isn’t just a quick meal; it is a texture-rich experience that addresses every part of the palate.
The magic lies in the interplay between the salty, nutty notes of the Romano cheese and the bright, citrusy zing of the lemon zest. Unlike standard breaded chicken, which can often feel heavy or one-dimensional, this version uses Panko breadcrumbs to ensure a light, airy crunch that doesn’t weigh you down. Here are the primary reasons this recipe will become your new go-to:
- Quick Prep & Cook Time: From the first slice of chicken to the final sprinkle of parsley, you’ll spend only about 35 minutes. It’s the ultimate solution for busy weeknights when you refuse to sacrifice quality for speed.
- Balanced Flavor Profiles: The acidity of the lemon cuts through the richness of the melted mozzarella and provolone, creating a harmony that keeps you coming back for another bite.
- Texture Perfection: By pan-searing first and finishing in the oven, you achieve a “shatter-crisp” exterior while keeping the chicken meat remarkably tender and juicy.
- Universal Appeal: It is sophisticated enough for a dinner party with a crisp white wine, yet simple enough that even the pickiest children will ask for seconds.

The Essential Ingredient Checklist
To achieve professional results, the quality and preparation of your ingredients are paramount. This recipe utilizes a specific blend of cheeses and aromatics to create its signature profile. Below is a detailed breakdown of what you will need to gather before you begin.
The Protein and the Melty Core
The foundation of this dish is the chicken. We recommend using boneless, skinless chicken breasts because they provide a clean canvas for the Romano crust. To ensure even cooking, pounding the chicken to a uniform thickness is a non-negotiable step.
| Ingredient | Quantity | Notes |
|---|---|---|
| Chicken Breasts | 2 (8–9 oz each) | Halved horizontally and pounded to 1/2-inch thickness. |
| Whole Milk Mozzarella | 1/2 cup (2 oz) | Shredded; provides the classic “cheese pull.” |
| Provolone Cheese | 1/2 cup (2 oz) | Shredded; adds a slight tang and superior melting quality. |
The Signature Romano Coating
The crust is where the “Romano” in the title truly shines. Romano cheese is saltier and sharper than Parmesan, which is why it stands up so well to the lemon and oregano. Using fresh lemon zest instead of bottled juice in the breading ensures that the citrus aroma is baked directly into the crust.
| Ingredient | Quantity | Notes |
|---|---|---|
| Large Egg | 1 unit | Beaten well to act as the primary binder. |
| All-purpose Flour | 1 Tbsp | Mixed with the egg to create a “glue” for the crumbs. |
| Panko Bread Crumbs | 3/4 cup | Essential for that distinct, Japanese-style crunch. |
| Romano Cheese | 1/3 cup | Finely shredded; the star of the flavor profile. |
| Fresh Oregano | 1 Tbsp + 1 tsp | Minced; gives an earthy, Mediterranean backbone. |
| Lemon Zest | 2 tsp | Freshly grated from approximately one large lemon. |
| Garlic Powder | 1/2 tsp | For a subtle, savory depth without burning like fresh garlic. |
| Olive Oil | 1/3 cup | Used for frying; ensure it is a high-quality oil. |
Step-by-Step Instructions: Mastering the Technique
Cooking Lemon Chicken Romano is a two-stage process: pan-frying for color and texture, followed by oven-baking for thorough cooking and cheese melting. Follow these steps meticulously to ensure your chicken stays juicy while the crust remains crisp.
Phase 1: Preparing the Chicken and Stations
- Preheat and Prep: Set your oven to 350°F (175°C). While the oven warms, sprinkle your chicken cutlets with a pinch of salt on both sides. Let them sit for 10 minutes; this draws out just enough moisture to help the flour adhere while seasoning the meat deeply.
- Dry the Meat: Use paper towels to pat the chicken completely dry. Any surface moisture will cause the breading to steam rather than fry, leading to a soggy crust.
- Set Up Your Dredging Station: In one shallow bowl, whisk the flour and egg until a smooth, slightly thick batter forms. In a second bowl, combine the Panko, Romano, oregano, lemon zest, garlic powder, and black pepper. Stir this mixture thoroughly so the zest is evenly distributed.
Phase 2: Coating and Frying
- The Dredge: Take one cutlet at a time and dip it into the egg mixture. Lift it up and let the excess drip off—you want a thin coating, not a heavy batter. Immediately move it to the Panko-Romano bowl.
- The Press: This is the pro-secret: press the chicken firmly into the crumbs. Flip it over and press again. You want to “embed” the Panko and cheese into the egg wash to ensure it doesn’t flake off in the pan.
- The Sizzle: Heat the olive oil in a large non-stick skillet over medium-high heat. You’ll know it’s ready when the oil shimmers or a stray breadcrumb sizzles instantly upon contact. Fry the chicken in batches (two at a time) for 2 minutes per side. Aim for a golden-brown hue; the chicken doesn’t need to be cooked through yet.
Phase 3: The Oven Finish
- Transfer: Move the golden cutlets to a baking sheet lined with parchment paper. This prevents the bottom from sticking and helps air circulate.
- The Cheese Blanket: Mix your mozzarella and provolone together. Pile the cheese generously in the center of each piece of chicken.
- Bake to Perfection: Place the tray in the oven for 8 to 10 minutes. The goal is an internal temperature of 165°F (74°C) and cheese that is bubbly and beginning to brown at the edges.
Expert Tips for the Perfect Crust
While the recipe is straightforward, small details separate a good home cook from a world-class chef. If you want that signature “shatter” when you cut into your chicken, keep these tips in mind:
- Don’t Overcrowd: If you put too many pieces in the pan at once, the oil temperature drops, and the chicken will absorb the oil rather than searing. Fry in batches!
- The “Rest” Period: After the chicken comes out of the oven, let it rest for 2–3 minutes. This allows the juices to redistribute so they don’t leak out and sog up the bottom crust the moment you cut it.
- Use an Instant-Read Thermometer: Chicken breasts dry out rapidly once they pass 170°F. Pulling them at exactly 165°F ensures the juiciest possible result.
Nutritional Information per Serving
This dish is high in protein and relatively moderate in carbohydrates, making it a satisfying main course that keeps you full longer.
| Nutrient | Amount |
|---|---|
| Calories | 460 kcal |
| Protein | 38 g |
| Total Fat | 26 g |
| Carbohydrates | 12 g |
| Cholesterol | 145 mg |
| Sodium | 680 mg |
Frequently Asked Questions (FAQ)
Can I use Parmesan instead of Romano?
Yes, you can substitute Parmesan, but keep in mind that Romano is significantly more pungent and salty. If using Parmesan, you may want to add an extra pinch of salt to the breading mixture to achieve the same flavor impact.
Is it possible to make this gluten-free?
Absolutely. Replace the all-purpose flour with a 1-to-1 gluten-free flour blend and use gluten-free Panko crumbs. Because GF breadcrumbs can sometimes be harder, ensure you pound the chicken very thin to keep the ratios balanced.
How do I store and reheat leftovers?
Store leftovers in an airtight container in the fridge for up to 3 days. To maintain the crispiness, avoid the microwave. Instead, reheat in an air fryer at 350°F for 4–5 minutes or in a toaster oven until the cheese is sizzling again.

You May Also Like
If you enjoyed this recipe, you might find your next favorite meal among these collections: Italian Chicken Recipes, Quick Weeknight Dinners, Zesty Lemon Flavors, and Cheesy Comfort Food.
Authority Reference: Learn more about the history and production of Pecorino Romano Cheese on Wikipedia.

Frequently Asked Questions
Can I make Lemon Chicken Romano ahead of time?
For the absolute best results, we recommend frying and baking the chicken right before serving to maintain the signature crispy texture. However, you can save time by pounding the chicken cutlets and preparing the Romano breading mixture up to 24 hours in advance. Store the prepared chicken and coating separately in the refrigerator until you are ready to cook.
What is the difference between Romano and Parmesan cheese?
While both are hard Italian cheeses, Romano (specifically Pecorino Romano) is made from sheep’s milk, giving it a much sharper, saltier, and more pungent flavor than Parmesan. Parmesan is made from cow’s milk and tends to be milder and nuttier. In this recipe, Romano provides the bold “kick” that pairs perfectly with the fresh lemon zest.
Can I use an air fryer for this recipe?
Yes! To make this recipe in an air fryer, spray the breaded cutlets generously with olive oil spray. Air fry at 375°F (190°C) for about 10-12 minutes, flipping halfway through. Add the cheese during the last 2 minutes of cooking until it is melted and bubbly. Ensure the internal temperature reaches 165°F.

Final Thoughts
Mastering Lemon Chicken Romano is all about balancing that golden, salty crust with the bright acidity of fresh citrus. It is a dish that proves you don’t need hours in the kitchen to produce a restaurant-quality meal that satisfies the whole family. Whether it’s a quiet Tuesday night or a special weekend gathering, this recipe brings a touch of gourmet elegance to your dinner table with minimal effort.
We invite you to gather your ingredients, follow these steps, and experience the incredible crunch and flavor for yourself. Don’t forget to serve it with extra lemon wedges to really make those flavors pop. Happy cooking!