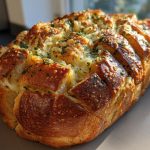
There is nothing quite like the comforting aroma of garlic-infused butter and melting cheese wafting through your kitchen. Whether you are hosting a high-energy game night, settling in for a cozy movie marathon, or looking for the perfect companion to a hearty bowl of pasta, cheesy garlic breadsticks are the undisputed champions of the snack world. They hit that perfect trifecta of textures: a crisp, golden bottom, a soft, pillowy center, and a bubbly, gooey topping that pulls apart in the most satisfying way.
The beauty of this recipe lies in its incredible simplicity. By using a few high-quality staples—like fresh pizza dough and a specific blend of cheeses—you can transform basic ingredients into a gourmet-style appetizer in less time than it takes to order delivery. In this guide, we will show you how to achieve that professional bakery finish right in your own oven, complete with tips on customizing flavors to suit your specific cravings.
Quick Answer: To make irresistible cheesy garlic breadsticks, roll out one pound of pizza dough, brush with a mixture of melted butter and garlic powder, and top with a generous blend of mozzarella and Parmesan. Bake at 425°F (220°C) for 12-15 minutes until golden and bubbly for a perfect snack in under 30 minutes.
Essential Ingredients for Gourmet Cheesy Garlic Breadsticks
Creating the perfect tray of cheesy garlic breadsticks doesn’t require a culinary degree, but it does require an eye for quality. While this recipe is designed to be accessible and fast, the magic happens when simple ingredients are handled with care. From the pull of the mozzarella to the aromatic punch of the garlic, every component plays a vital role in the final flavor profile.
When you are gathering your supplies, keep in mind that the textures are just as important as the taste. You want a dough that can withstand the weight of heavy cheese while maintaining a soft, airy interior. Below is a comprehensive list of what you will need to get started.
| Ingredient | Measurement | Primary Function |
|---|---|---|
| Pizza Dough | 1 pound | Provides the structural base and chewy texture. |
| Unsalted Butter | 2 tablespoons | Acts as the fat carrier for garlic and herb flavors. |
| Garlic Powder | 1 teaspoon | Delivers uniform, savory aroma throughout the crust. |
| Shredded Mozzarella | 2 cups | Creates the iconic “cheese pull” and creamy mouthfeel. |
| Grated Parmesan | ⅓ cup | Adds a salty, nutty, and sharp finish. |
| Dried Basil | ½ teaspoon | Provides a sweet, peppery herbal note. |
| Dried Oregano | ¼ teaspoon | Offers an earthy, traditional Italian fragrance. |
Choosing Your Dough Base
The pizza dough is your canvas. If you are looking for convenience, a high-quality store-bought dough from the refrigerated section of your grocery store works beautifully. However, if you choose to make it from scratch, look for “00” flour or bread flour to ensure a higher protein content, which results in a more satisfying chew. Ensure your dough is at room temperature before rolling; cold dough tends to snap back, making it difficult to achieve that perfect 12×10-inch rectangle.
The Dynamic Cheese Duo
Why use two types of cheese? Mozzarella is a high-moisture cheese that melts exceptionally well, but it can be somewhat mild in flavor. By layering in Grated Parmesan, you introduce a complex saltiness and a sharper bite that cuts through the richness of the butter. This combination ensures that your breadsticks aren’t just cheesy, but deeply flavorful.
Step-by-Step Instructions: From Dough to Delicious
Follow these steps carefully to ensure your breadsticks are cooked evenly and boast that professional-grade golden crust. Timing and temperature are key to preventing the cheese from burning while the dough remains raw in the center.
1. Oven Calibration and Preparation
Preheat your oven to 425°F (220°C). This high heat is essential for a “flash-bake” effect, which crisps the bottom of the dough quickly while keeping the inside tender. While the oven heats, prepare your baking surface. A pizza stone is ideal for the crispiest bottom, but a standard baking sheet lined with parchment paper works perfectly for easy cleanup. Lightly greasing the surface with a touch of olive oil or butter can also add an extra layer of flavor to the bottom crust.
2. Shaping and Stretching the Canvas
Gently stretch your dough on a lightly floured surface. Aim for a 12×10-inch rectangle. If the dough is resisting, let it rest for 5 minutes to allow the gluten to relax, then try again. A rustic, uneven shape is perfectly fine—it gives the breadsticks a “homemade” charm that guests love.
3. Infusing the Garlic Butter
Melt your butter in a small microwave-safe bowl. Stir in the garlic powder until fully incorporated. Using a pastry brush, coat the entire surface of the dough, making sure to reach the very edges. This creates a fat barrier that prevents the cheese from making the dough soggy and ensures the garlic flavor is embedded in every bite.
4. The Layering Process
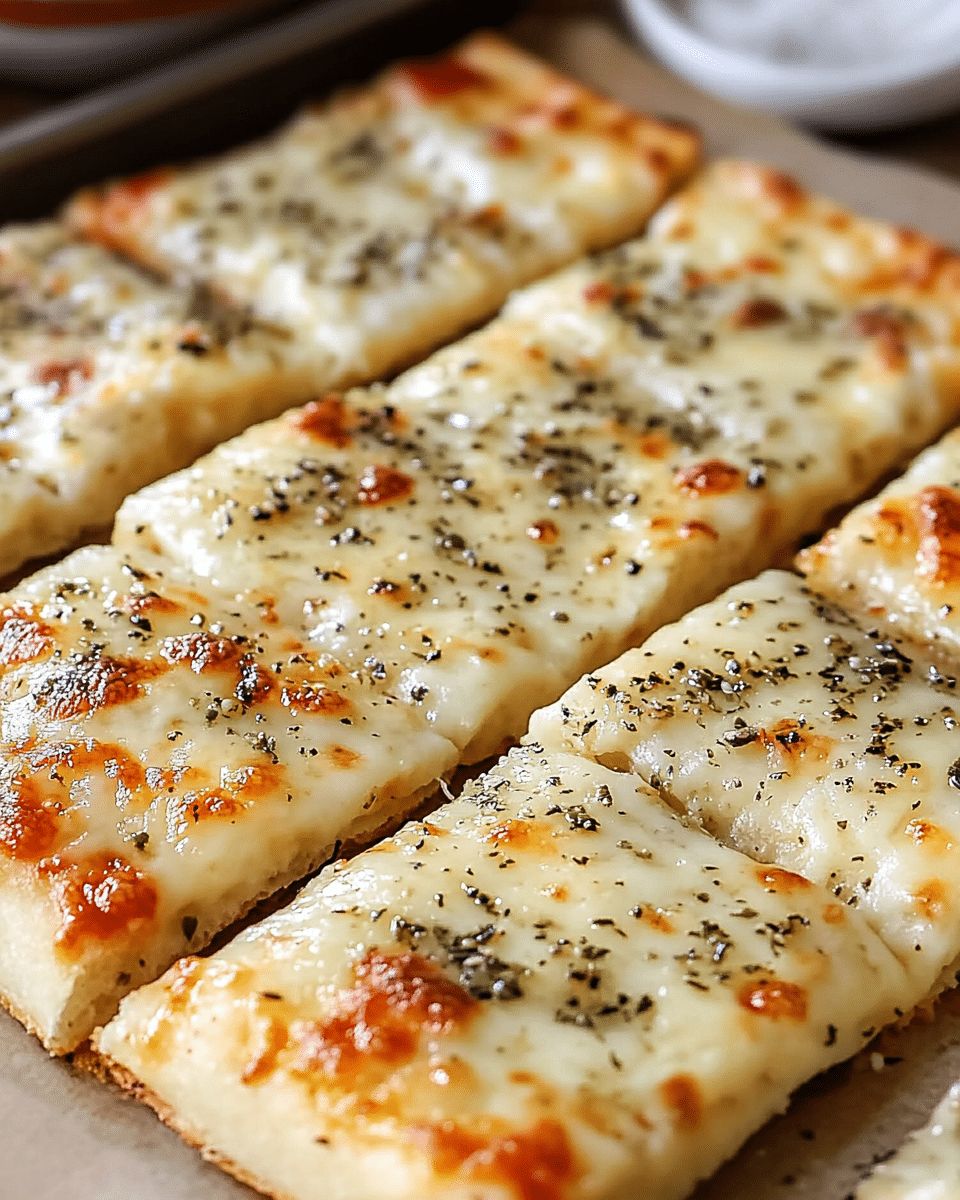
Distribute the shredded mozzarella evenly, followed by the Parmesan. Finally, sprinkle the dried basil and oregano over the top. If you prefer a more “pizzeria-style” finish, you can add a tiny pinch of sea salt at this stage to make the savory notes pop.
5. The Final Bake
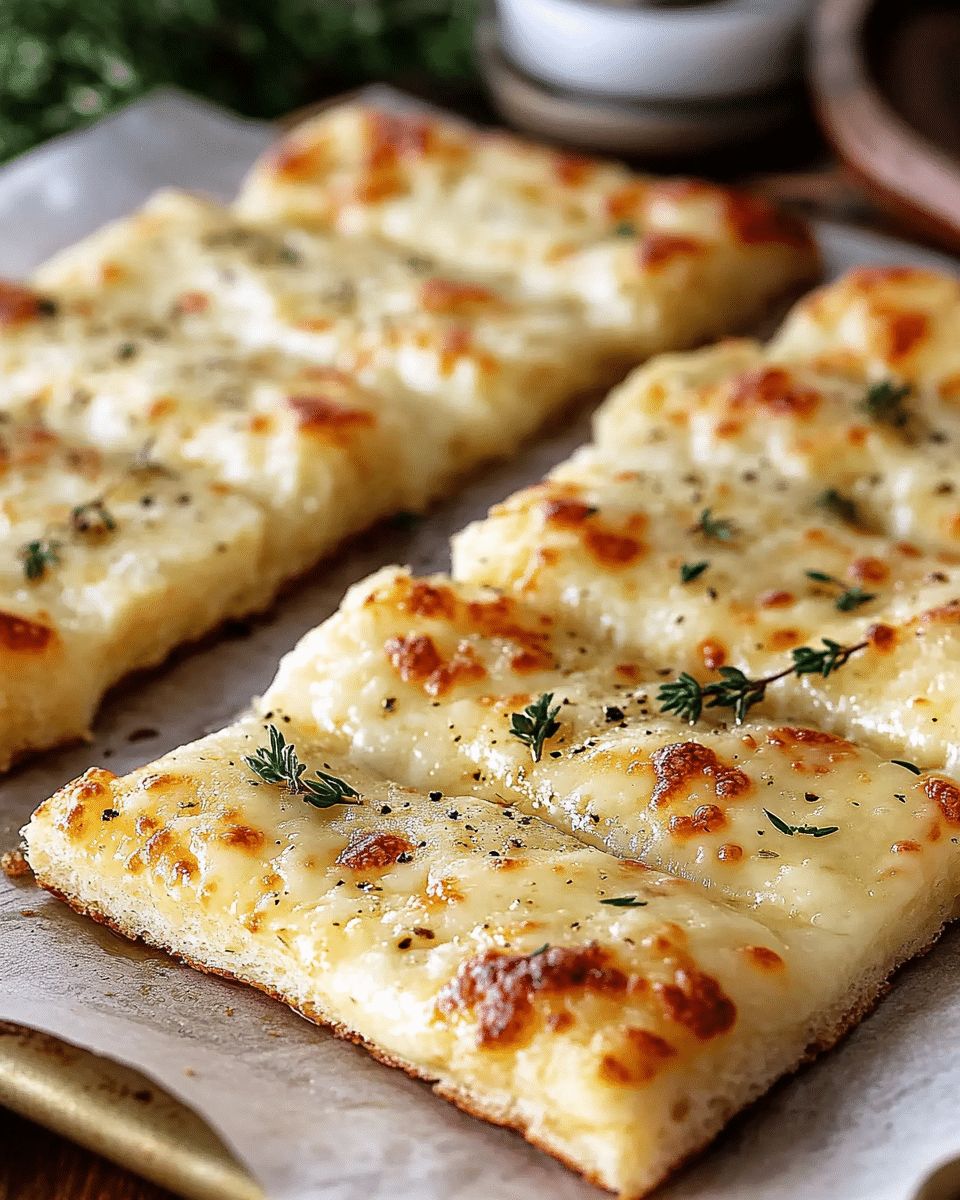
Slide the tray into the center rack of the oven. Bake for 12 to 15 minutes. You are looking for specific visual cues: the cheese should be bubbling with small golden-brown spots, and the edges of the crust should be a deep, toasted gold. Once removed, let them sit for 2-3 minutes; this allows the cheese to set slightly so it doesn’t slide off when you cut them.
Pro Tip: For an extra-glossy finish, brush the edges of the crust with a little more garlic butter immediately after taking them out of the oven.
Customization: Making the Recipe Your Own
One of the best aspects of cheesy garlic breadsticks is how easily they adapt to different palates. You can move beyond the base recipe to create something truly unique.
Adding Heat and Texture
If you enjoy a bit of spice, try these modifications:
- Red Pepper Flakes: Sprinkle a teaspoon over the cheese before baking for a steady heat.
- Jalapeño Slices: Add thinly sliced fresh or pickled jalapeños for a bright, acidic kick.
- Hot Honey Drizzle: After baking, drizzle a tablespoon of spicy honey over the top for a sweet-and-savory contrast.
Incorporating Protein and Greens
Turn these breadsticks into a more substantial meal by adding toppings typically reserved for pizza:
- Crispy Bacon Bits: Pre-cooked bacon adds a smoky saltiness that pairs perfectly with mozzarella.
- Sautéed Spinach: Ensure the spinach is squeezed dry to prevent the breadsticks from becoming watery.
- Pepperoni: Use mini-pepperonis for a classic “pizza stick” vibe that kids absolutely love.
Serving Suggestions and Pairings
While these breadsticks are a powerhouse on their own, the right dipping sauce can take the experience to the next level. Marinara sauce is the classic choice, providing a bright acidity that balances the heavy cheese. However, you might also consider:
- Creamy Ranch: A favorite for those who love a cool, tangy contrast.
- Garlic Aioli: For the true garlic lover who can’t get enough of that pungent aroma.
- Balsamic Glaze: A sophisticated drizzle that adds a touch of sweetness and sophistication.
The Perfect Meal Accompaniment
These breadsticks aren’t just for snacking. They serve as an excellent side dish for several main courses:
- Pasta Dishes: Use them to scoop up leftover sauce from Spaghetti Carbonara or Lasagna.
- Fresh Salads: Serve alongside a Caesar salad to provide a warm, carb-heavy balance to the cool greens.
- Soup Season: They are the ultimate “dippers” for Tomato Basil soup or Italian Wedding soup.
Nutritional Breakdown and Considerations
Understanding the nutritional profile of your snacks helps in maintaining a balanced diet. While these are an indulgent treat, being mindful of serving sizes is always beneficial.
| Nutrient | Value per Serving (Approx.) | Daily Value % |
|---|---|---|
| Calories | 280 kcal | 14% |
| Total Fat | 15g | 19% |
| Saturated Fat | 9g | 45% |
| Carbohydrates | 30g | 11% |
| Protein | 12g | 24% |
| Sodium | 500mg | 22% |
To create a lighter version of this recipe, consider using a part-skim mozzarella or reducing the amount of butter. You can also swap the white pizza dough for a whole-wheat variety to increase the fiber content without sacrificing the chewy texture.
You May Also Like
Explore more delicious ideas and techniques: homemade pizza dough, easy appetizers, italian side dishes, and party snacks.
For more information on the history and variations of this classic dish, visit: Garlic Bread – Wikipedia

Frequently Asked Questions
Can I make these breadsticks ahead of time?
Yes! You can prepare the dough with the garlic butter and cheese, then cover it tightly with plastic wrap and refrigerate for up to 24 hours before baking. Alternatively, you can bake them fully, let them cool, and store them in an airtight container; simply reheat them in a 350°F oven for 5 minutes to restore the crispy texture and melted cheese.
What is the best way to prevent the dough from being soggy?
The secret is high heat and proper fat distribution. Ensure your oven is fully preheated to 425°F before the dough goes in. Additionally, brushing the dough with the butter mixture before adding the cheese creates a light barrier that prevents moisture from the cheese from seeping into the bread, ensuring a perfectly baked center.
Can I use fresh garlic instead of garlic powder?
Absolutely. While garlic powder provides a very even flavor, fresh minced garlic offers a more pungent, “gourmet” taste. If using fresh garlic, sauté it lightly in the butter for 30 seconds before brushing it onto the dough to ensure it mellows out and doesn’t taste raw or bitter after baking.

Final Thoughts
Mastering cheesy garlic breadsticks is a game-changer for any home cook. With just a few minutes of preparation and the right combination of mozzarella and Parmesan, you can create a versatile snack that rivals any professional pizzeria. Whether they are the star of your next party or a quick side for a family dinner, their irresistible golden crust and savory aroma are guaranteed to make them a recurring favorite in your kitchen.
Don’t be afraid to experiment with the toppings and dipping sauces mentioned in this guide. Cooking is all about making a recipe your own, so grab your rolling pin, fire up the oven, and enjoy the process of creating something truly delicious for yourself and your loved ones!