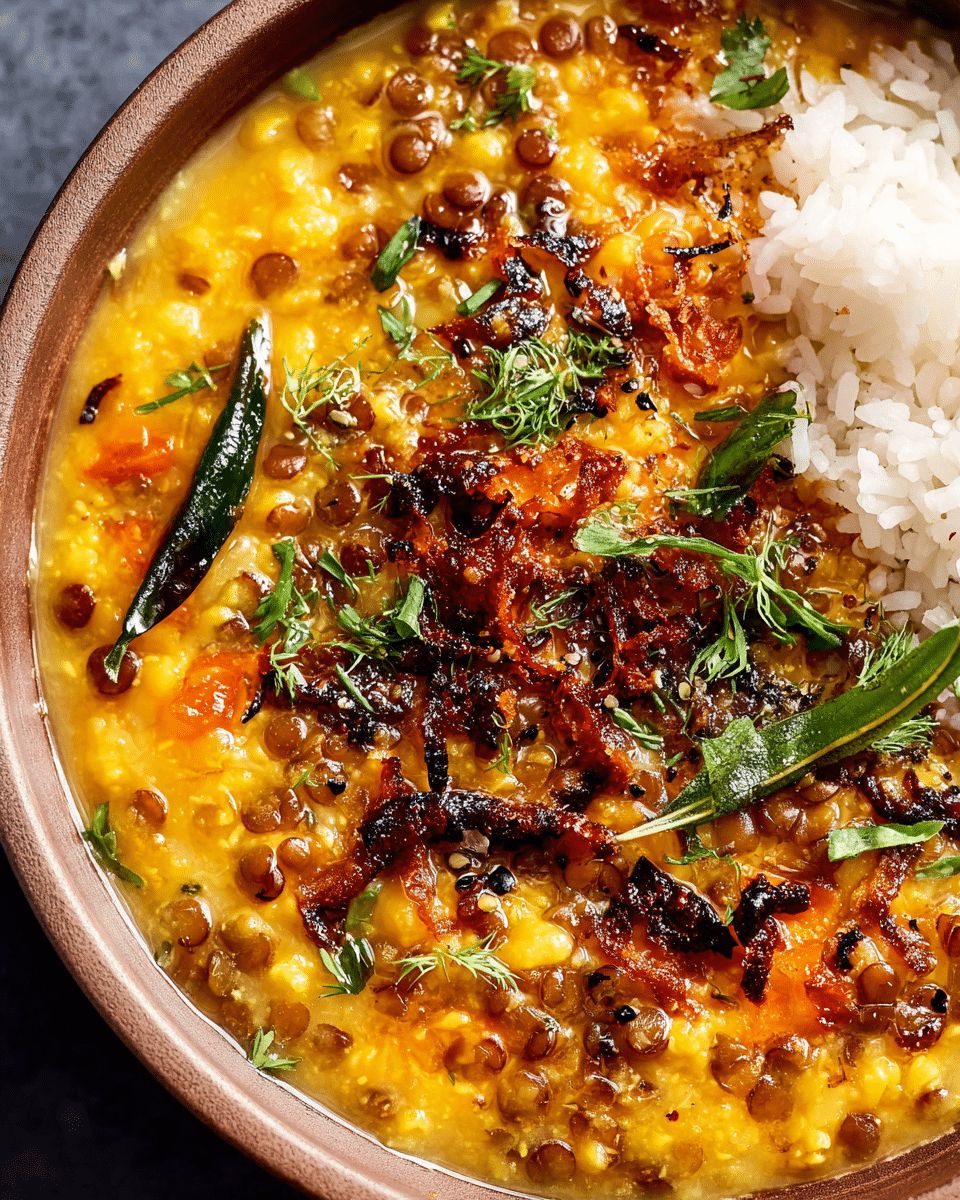
There’s something deeply satisfying about a bowl of warm, home-cooked dal. The aroma of spices wafting through your kitchen, the comforting texture of perfectly cooked lentils, and the subtle heat that warms you from within—it’s a meal that connects you to tradition, nourishment, and simple joy. Whether you are seeking a protein-packed weeknight dinner or a soul-soothing lunch, this Comforting Two-Lentil Dal with Aromatic Tempering is designed to become your new culinary staple.
You might think making restaurant-quality dal at home is complicated, but the secret lies in the balance of textures and the essential technique of tempering. By combining red lentils (masoor dal) for silkiness and yellow lentils (moong dal) for hearty body, we create a base that is both nourishing and flavorful. In this guide, you’ll learn how to cook these lentils to perfection and master the art of blooming spices to create a dish that impresses every time.
Quick Answer: This recipe uses a blend of red and yellow lentils for a unique creamy-yet-hearty texture. The signature flavor is achieved through double tempering: first, a base of caramelized onions, garlic, and ginger, followed by a final finishing drizzle of oil infused with freshly crushed cumin and black pepper.
Why a Two-Lentil Blend is a Culinary Game Changer
Most dal recipes rely on a single variety of legume, but the secret to a truly spectacular bowl lies in the combination of red lentils (masoor dal) and yellow lentils (moong dal). This isn’t just a matter of color; it is a deliberate choice for texture and flavor balance. Red lentils have a unique property: they break down almost entirely when cooked, creating a naturally thick, silky, and creamy base without the need for dairy. In contrast, petite yellow lentils tend to hold their shape slightly better, providing a subtle “bite” and heartiness that prevents the dish from feeling like a simple purée.
When these two varieties simmer together, they create a synergistic texture that is both light enough for a quick lunch and satisfying enough for a main dinner course. Furthermore, both lentils are quick-cooking, meaning you don’t need to soak them for hours before you start. This makes this two-lentil dal one of the most efficient plant-based meals you can prepare from scratch.
The Nutritional Synergy
Beyond the texture, this blend is a nutritional powerhouse. By mixing varieties, you are diversifying the micronutrients in your meal. Both are incredibly high in plant-based protein and dietary fiber, which helps stabilize blood sugar and keeps you feeling full. They are also rich in essential minerals like iron and folate, making this an ideal dish for those following a vegetarian or vegan lifestyle.
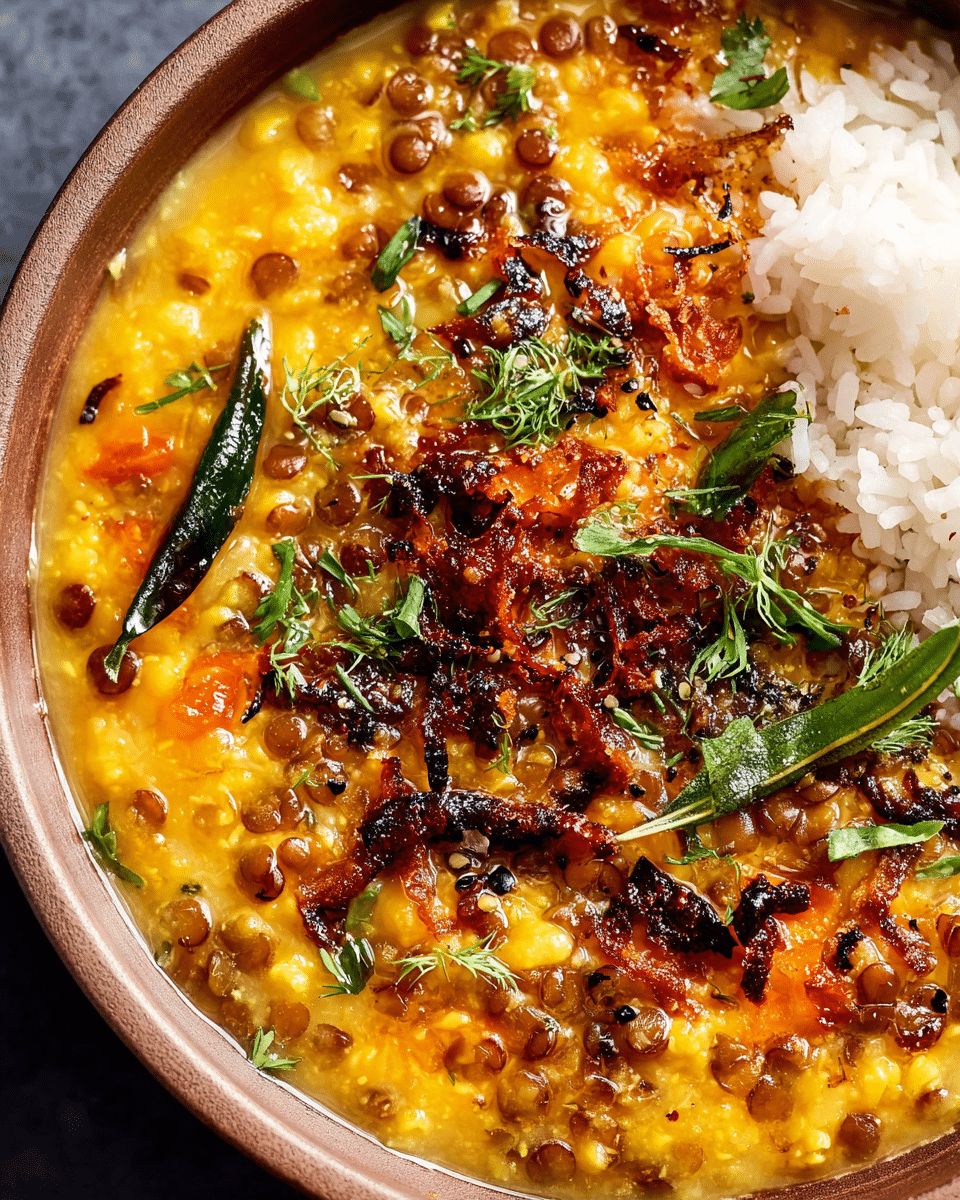
The Ingredients: Building Your Flavor Foundation
Great cooking starts with understanding your ingredients. While dal is often considered a humble dish, the quality of your spices and the freshness of your aromatics will dictate the final result. Below, we have broken down the components into logical groups to help you prep your station like a professional chef.
The Lentil Base
This is the “body” of your dish. Ensure you rinse your lentils until the water runs clear; this removes excess surface starch and any dust, leading to a cleaner flavor and better digestion.
| Ingredient | Quantity | Pro-Tip |
|---|---|---|
| Red lentils (masoor dal) | ½ cup | Rinse 3–4 times for a smoother texture. |
| Yellow lentils (moong dal) | ½ cup | Adds a nutty undertone and heartiness. |
| Fresh Tomato | 1, chopped | Provides acidity to balance the earthy lentils. |
| Dried Fenugreek (Kasuri Methi) | ½ tsp | Rub between your palms to release the oils. |
| Water | 3 cups | Use broth for an even deeper savory profile. |
Aromatics and Spices
The “soul” of the dish comes from the tempering spices. We use a double-tempering method to layer the flavors—one layer cooked into the dal and a second “tadka” drizzled on top at the very end to provide a fresh, aromatic punch.
| Aromatic | Quantity | Function |
|---|---|---|
| Cumin Seeds | 1 tsp | Earthy and warm foundation. |
| Black Peppercorns | ¼ tsp | Provides a sharp, lingering heat. |
| Fresh Ginger/Garlic | Various | Essential for gut health and aroma. |
| Curry Leaves | 5–6 leaves | Adds a citrusy, herbal complexity. |
Comprehensive Cooking Instructions
Whether you are a fan of modern kitchen gadgets or prefer the traditional stovetop method, we have you covered. The goal is to reach a consistency where the lentils are completely soft and beginning to merge into a thick, comforting soup.
Method 1: The Modern Instant Pot Approach
Using a pressure cooker is the fastest way to achieve a “slow-cooked” taste in a fraction of the time. It is also a “set it and forget it” method that is perfect for busy weeknights.
- Rinse and Load: Place the rinsed red and yellow lentils into the inner pot.
- Season: Add the chopped tomato, salt, dried fenugreek leaves, and 3 cups of water.
- Pressure Cook: Seal the lid and set the valve to “Sealing.” Cook on High Pressure for 7 minutes.
- Natural Release: This is crucial. Let the pressure release naturally for 10 minutes. This allows the lentils to finish softening in the residual steam, ensuring they don’t turn into a watery mess.
Method 2: The Traditional Stovetop Approach
The stovetop method allows you to keep an eye on the consistency and adjust the water levels as you go. It is a more meditative process that fills your home with incredible scents.
- Boil: In a heavy-bottomed saucepan, combine the lentils, tomatoes, fenugreek, and water. Bring to a rolling boil.
- Simmer: Reduce the heat to low-medium and partially cover the pot. Let it simmer for approximately 20–25 minutes.
- Monitor: Check every 10 minutes. If the lentils have absorbed all the water but aren’t yet soft, add an additional ½ cup of water.
- Texture Check: Once the lentils are tender and the yellow moong dal starts to split, you are ready for the tempering.
The Art of Tempering: Mastering the “Tadka”
Tempering, known as Tadka or Chhonk, is the technique of blooming spices in hot oil to unlock their fat-soluble flavors. In this recipe, we use two stages of tempering to create maximum depth.
Step 1: The Flavor Base (First Tempering)
This stage builds the savory heart of the dal. We use onions to provide a sweetness that offsets the earthy lentils.
- Heat 2 teaspoons of oil in a skillet over medium heat.
- Add half of your freshly crushed cumin and pepper. Watch for them to sizzle and become fragrant—this takes only about 30 seconds.
- Add the finely chopped onions. Cook them for 5–7 minutes. You aren’t just softening them; you want them to reach a golden-brown caramelization.
- Stir in the minced garlic, ginger, and green chili. Cook for 2 more minutes until the “raw” smell of the garlic disappears.
- Finish with the Garam Masala and curry leaves, tossing for 30 seconds, then stir this whole mixture directly into your cooked lentils.
Step 2: The Finishing Flourish (Second Tempering)
The second tempering is what gives the dish its “restaurant-quality” finish. Because these spices aren’t simmered, they retain a bright, sharp aroma that hits your senses the moment the bowl is served.
- In a small “tadka” pan or ladle, heat 1 teaspoon of oil until shimmering.
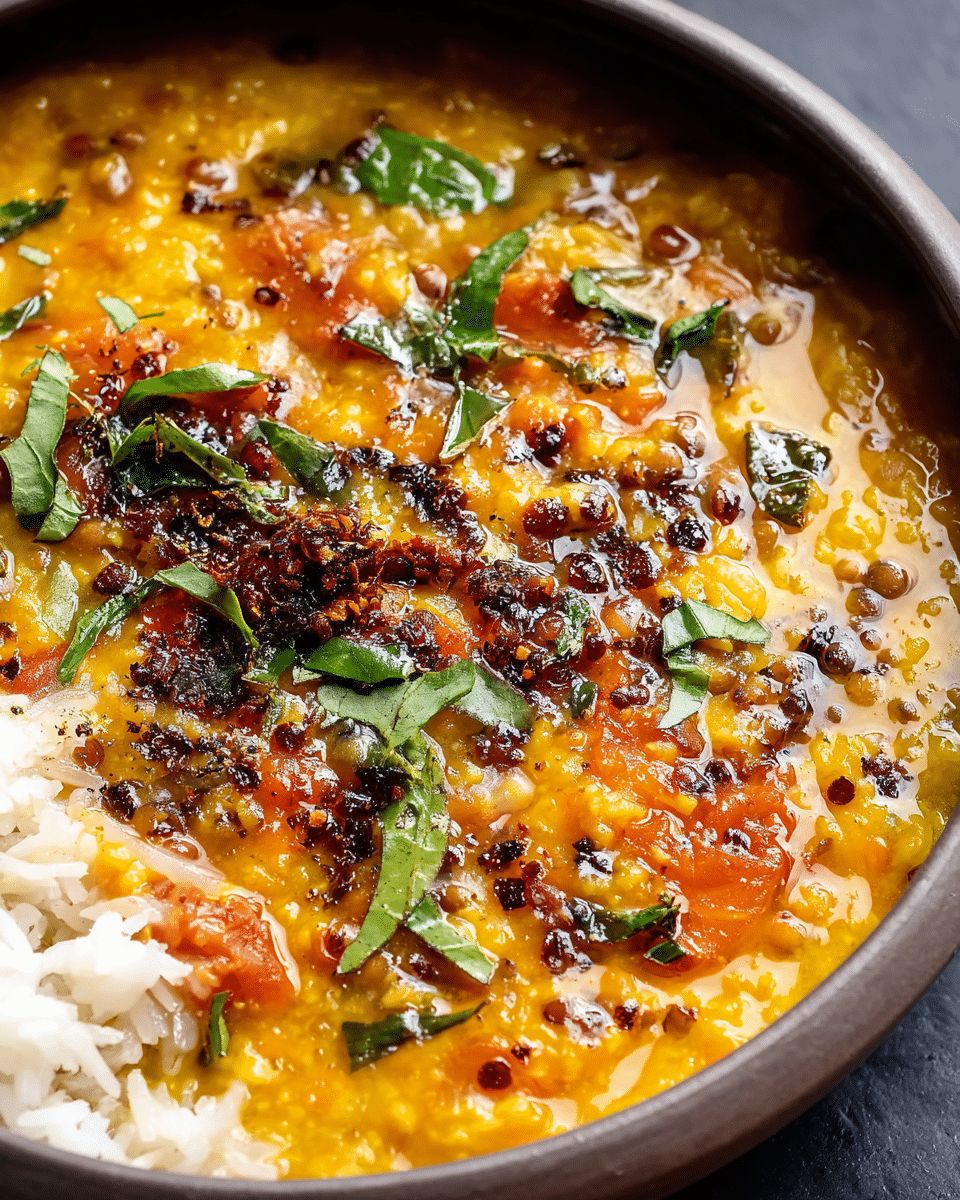
- Add the remaining crushed cumin and black pepper. As soon as they smell toasted, pour the hot oil and spices directly over the dal.
- Do not stir it in completely; let it sit on the surface for a beautiful presentation.
Pro-Tips for Success and Storage
To ensure your dal turns out perfectly every time, keep these expert tips in mind:
- Adjusting Consistency: Dal thickens significantly as it cools. If you are reheating leftovers, always add a splash of water to loosen it back to its original creaminess.
- Acid is Key: A squeeze of fresh lemon juice right before serving is non-negotiable. It “wakes up” all the heavy, earthy spices and makes the flavors pop.
- The Oil Choice: While neutral oil works perfectly, using Ghee (clarified butter) for the tempering will add a rich, nutty flavor that is traditional to Indian cuisine.
- Leftovers: This dish actually tastes better the next day! Store it in an airtight container in the refrigerator for up to 3 days. It also freezes exceptionally well for up to a month.
Nutritional Breakdown: Healthy and Hearty
This dal is as good for your body as it is for your soul. It is naturally low in fat and packed with essential nutrients.
| Nutrient | Approx. Per Serving | Daily Value (%) |
|---|---|---|
| Protein | 14g | 28% |
| Fiber | 12g | 48% |
| Iron | 3.5mg | 20% |
| Potassium | 450mg | 10% |
Frequently Asked Questions
Can I use a different type of lentil?
While Masoor and Moong are recommended for their quick cooking times and texture, you can use split chickpeas (chana dal). However, chana dal requires soaking for at least 2 hours and a much longer cooking time.
Is this recipe gluten-free?
Yes! This recipe is naturally gluten-free. Just ensure your spices (like Garam Masala) are pure and not processed with any wheat-based anti-caking agents.
What should I serve this with?
The classic pairing is Basmati rice (Dal-Chawal). However, it is equally delicious with garlic naan, whole-wheat rotis, or even as a thick soup served with a side of crusty sourdough bread.
You May Also Like
Explore more: Quick Vegan Dinner Recipes, Healthy Instant Pot Meals, High-Protein Plant-Based Dishes, The Ultimate Guide to Indian Spices.
Source: The History and Global Varieties of Dal – Wikipedia
Frequently Asked Questions
Can I freeze this Two-Lentil Dal for meal prep?
Yes, this dal is excellent for meal prep and freezes beautifully. Once the dal has cooled completely, transfer it to an airtight, freezer-safe container. It will stay fresh for up to 3 months. When you are ready to serve, thaw it in the refrigerator overnight and reheat it on the stovetop, adding a splash of water or broth to loosen the consistency.
What is the best substitute for fresh curry leaves?
While fresh curry leaves have a distinct, citrusy aroma that is hard to replicate, the best substitute is lime zest or a combination of fresh basil and lemon zest. Some cooks also use bay leaves during the tempering process for a different but pleasant herbal note. However, for the most authentic flavor, look for fresh or frozen curry leaves at your local international grocery store.
Is this recipe suitable for a gluten-free diet?
Absolutely. This recipe is naturally gluten-free as lentils and the specified spices do not contain wheat. Just ensure that your store-bought Garam Masala blend is certified gluten-free, as some commercial spice mixes use wheat-based anti-caking agents. Serving the dal with basmati rice or quinoa instead of naan keeps the entire meal gluten-free.
Final Thoughts
This Comforting Two-Lentil Dal with Aromatic Tempering is a testament to how simple pantry staples can be transformed into a world-class meal. By mastering the balance between the silky red lentils and the hearty yellow lentils, and perfecting the art of the double “tadka,” you bring a layer of professional culinary depth to your home cooking. It is a dish that provides both physical nourishment and emotional comfort.
Whether you are serving this for a quiet weeknight dinner or as part of a larger feast for friends, the vibrant colors and deep aromas are sure to impress. Remember to always finish with a bright squeeze of lemon and a handful of fresh cilantro to elevate the earthy tones of the lentils. Enjoy the process of blooming your spices and savor every spoonful of this timeless classic.